My journey so far learning 3d

Learning new skills can be a challenging but rewarding experience.

I've always wanted to learn 3D animation and modeling, so I made it my New Year's resolution to spend my free time learning all aspects of 3D, from modeling to animation. I firmly believe that you should never fear failing and that if you put in the time and effort, the results will pay off.

To start my journey, I researched online and found BlenderBros3D, an online platform that offers a range of courses on how to use Blender3D effectively. I was drawn to their courses as they catered to both beginners and advanced artists and covered a wide range of topics, from basic modeling skills to more advanced hard surface modeling techniques.


I began my learning journey with BlenderBros3D's courses, and I was not disappointed. The courses were well-structured and engaging, and the teaching style was informative and easy to follow. I started with the basics and gradually worked my way up to more advanced techniques, such as lighting and rendering.

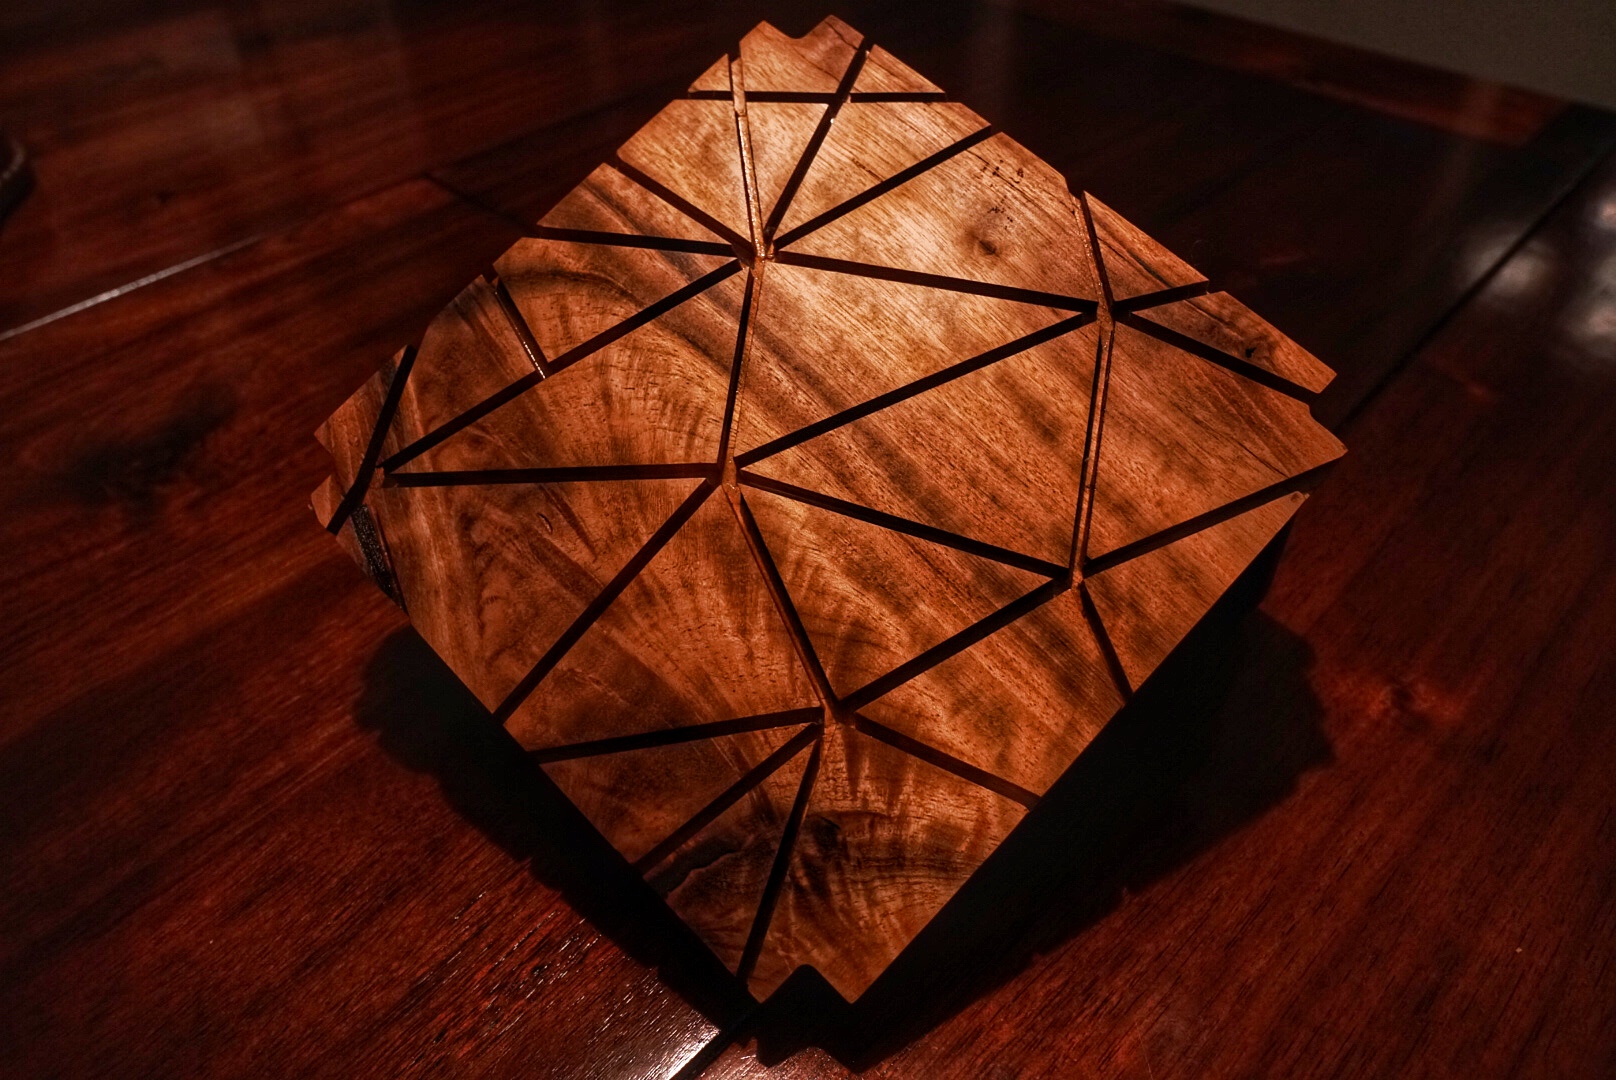
I learned how to use HDRI to create basic lighting and how to use the Cycles engine to render my scenes effectively. These skills were crucial in bringing my models to life and creating visually stunning scenes.


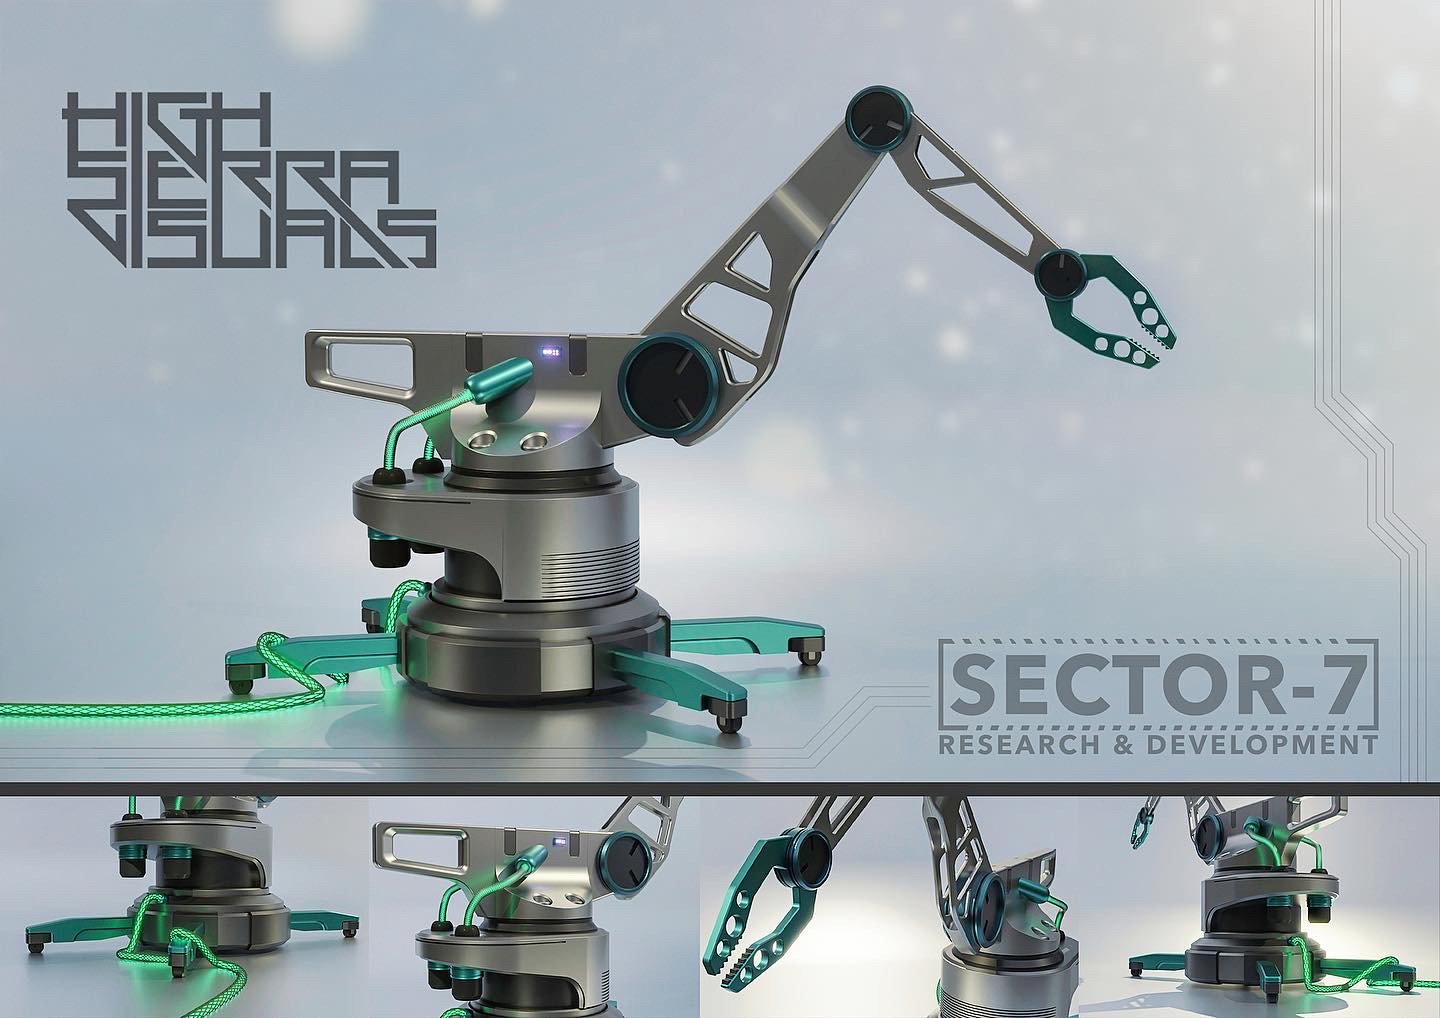
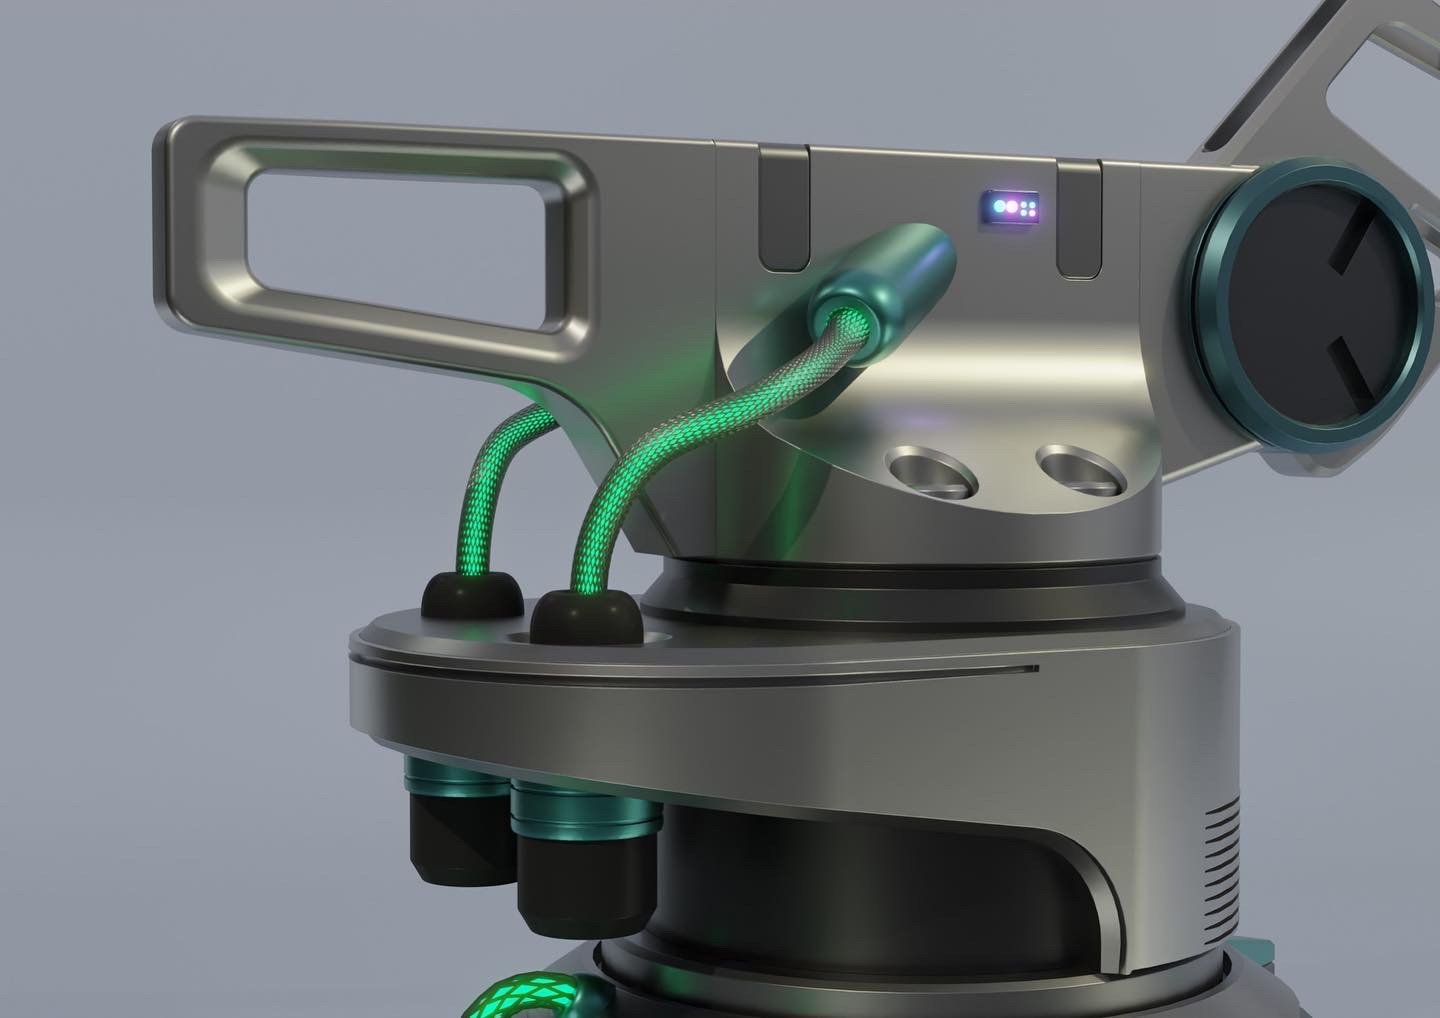
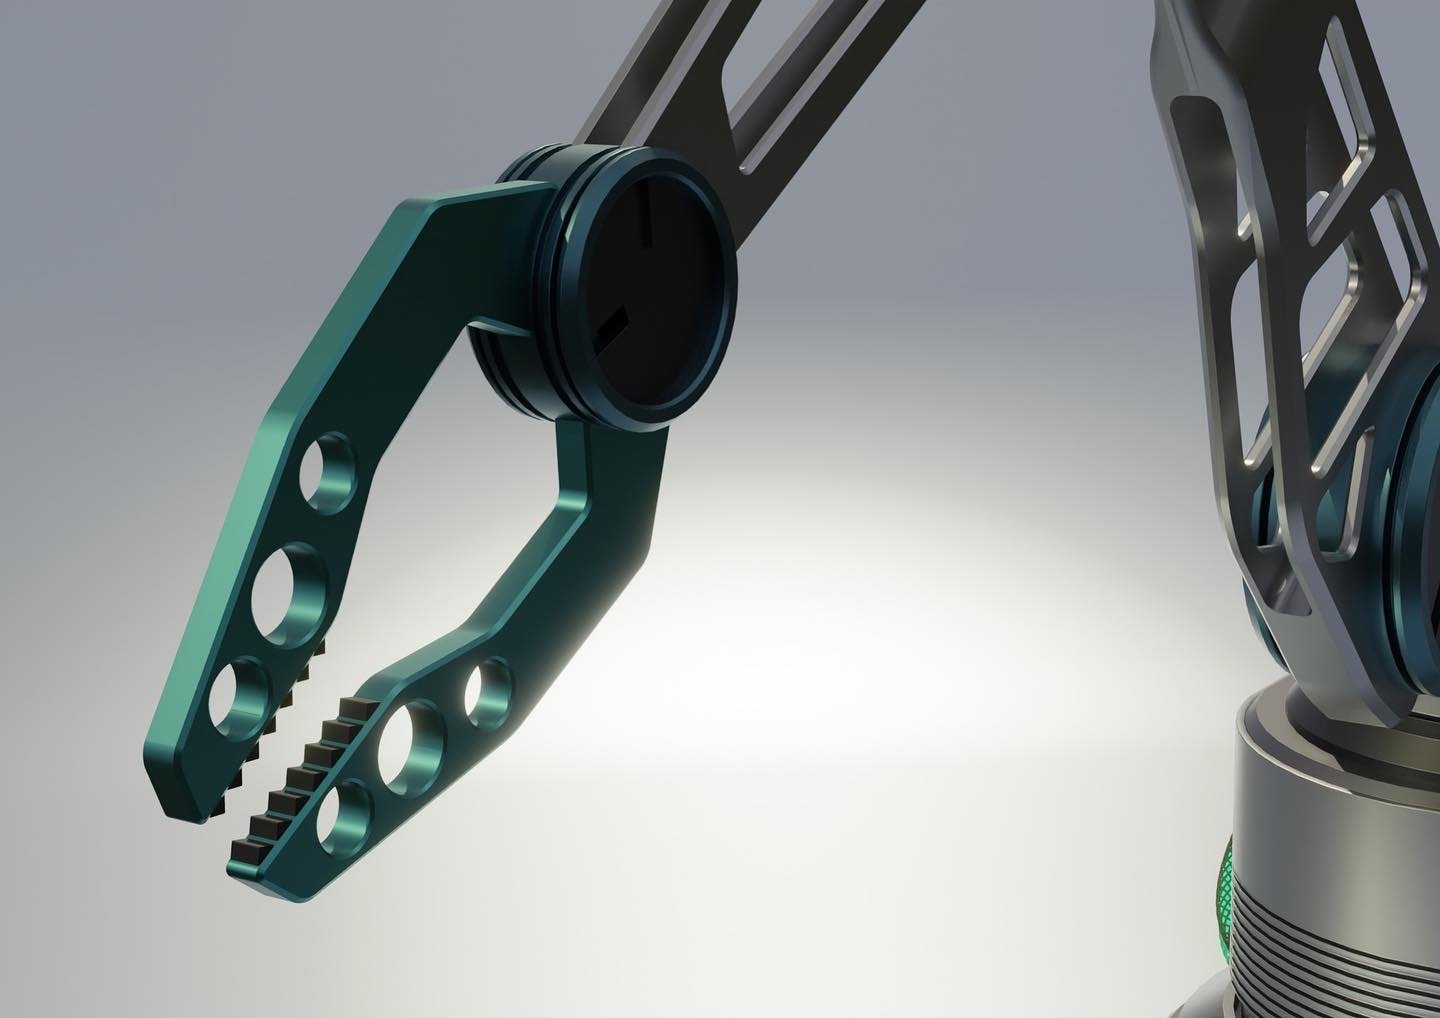
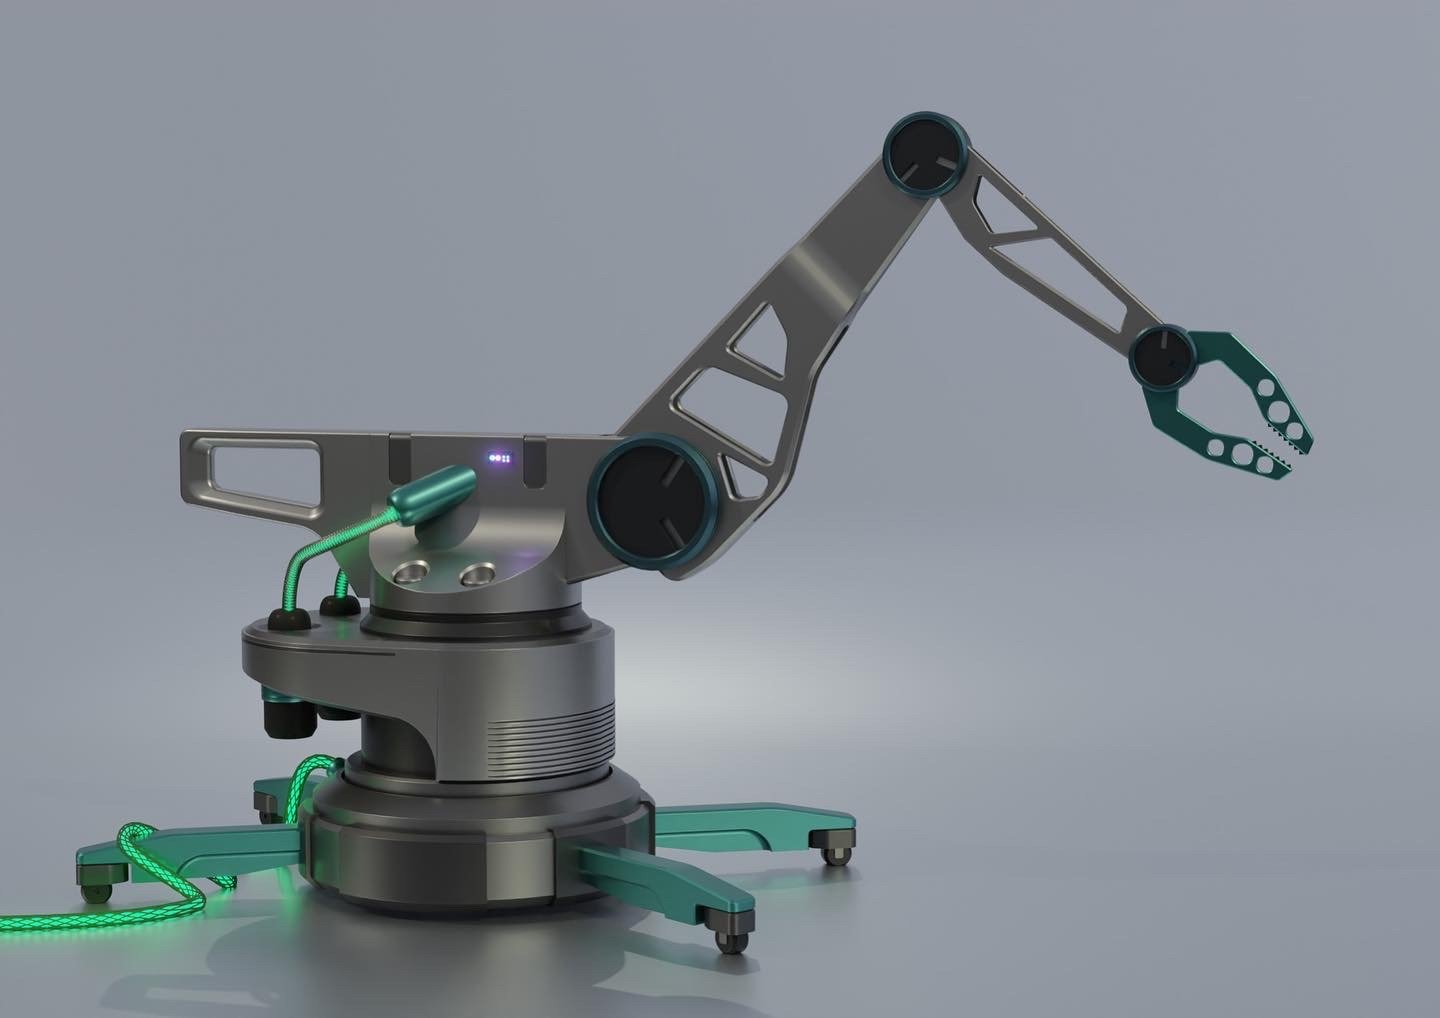
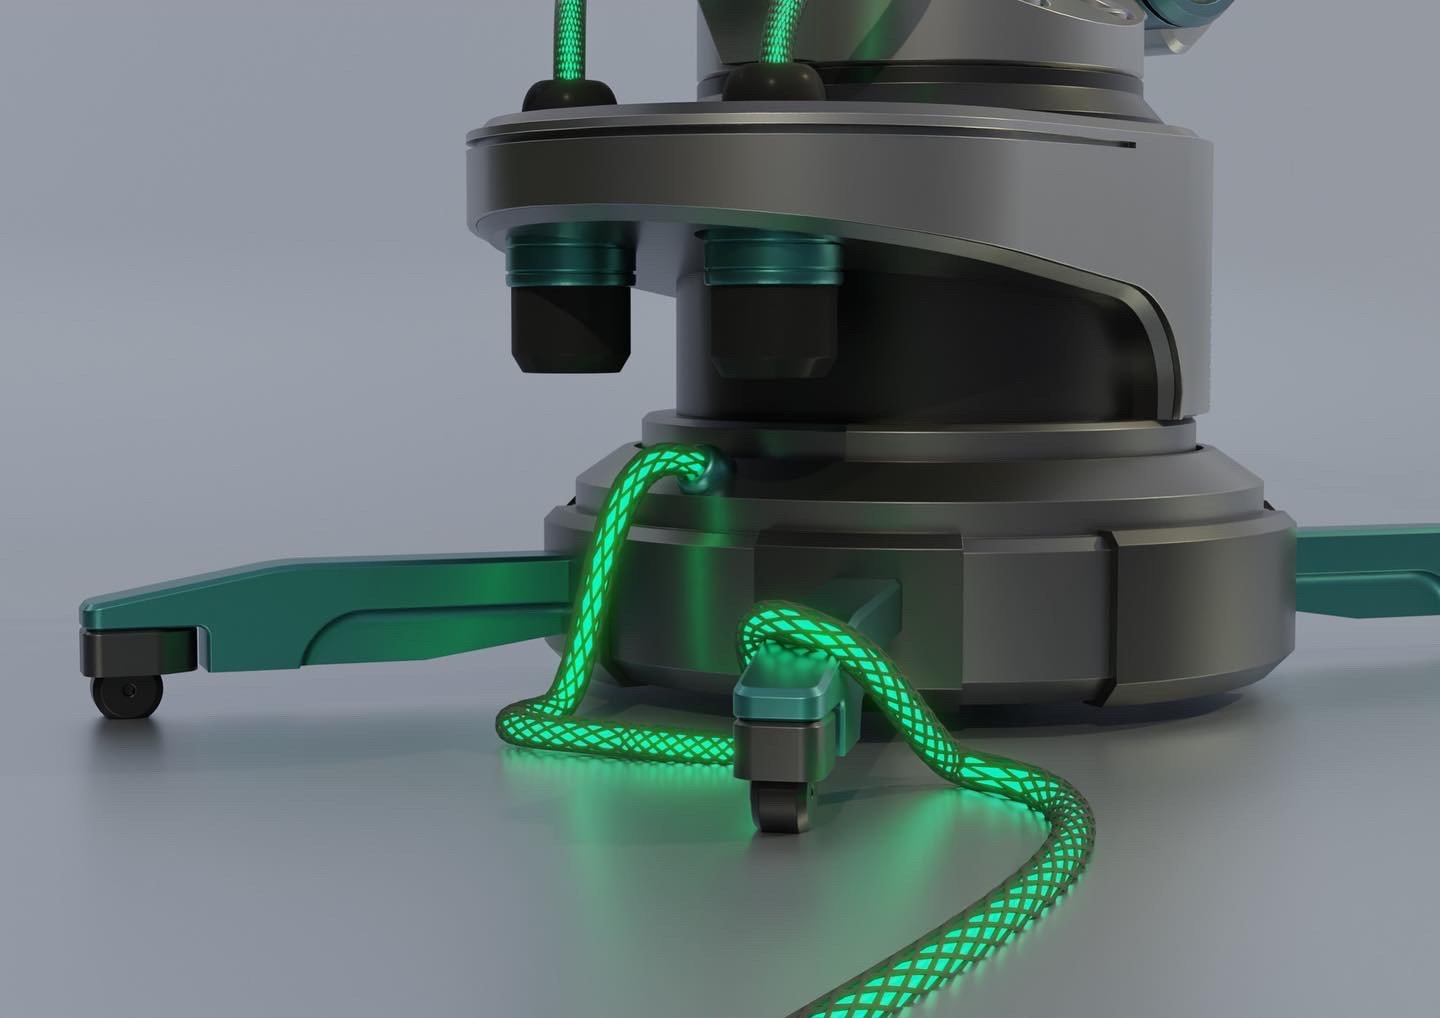
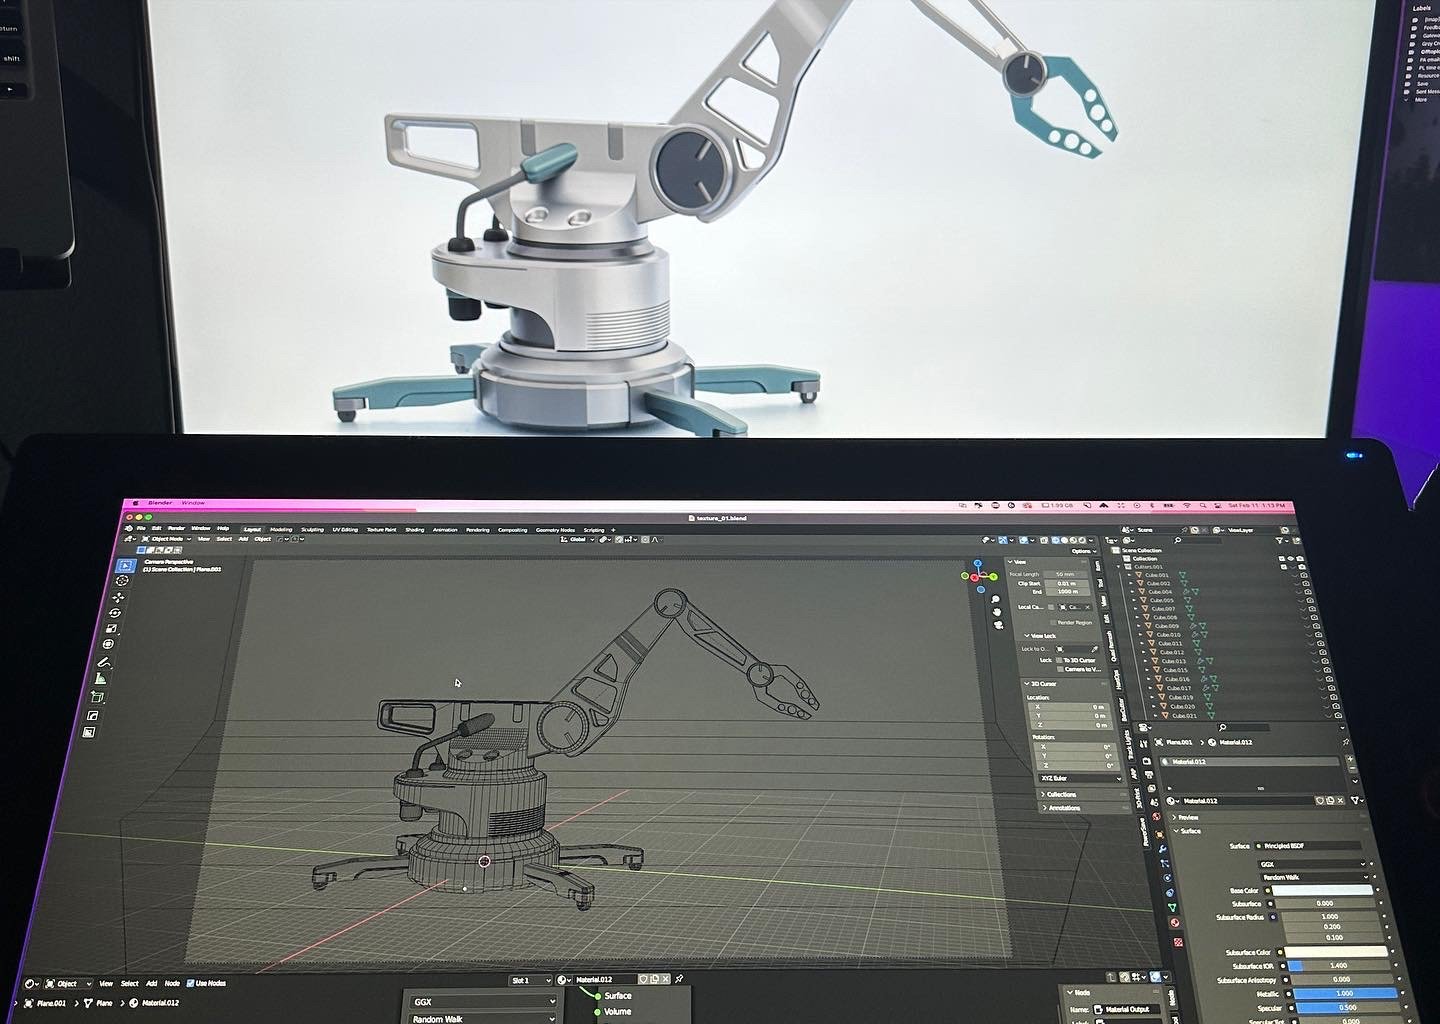
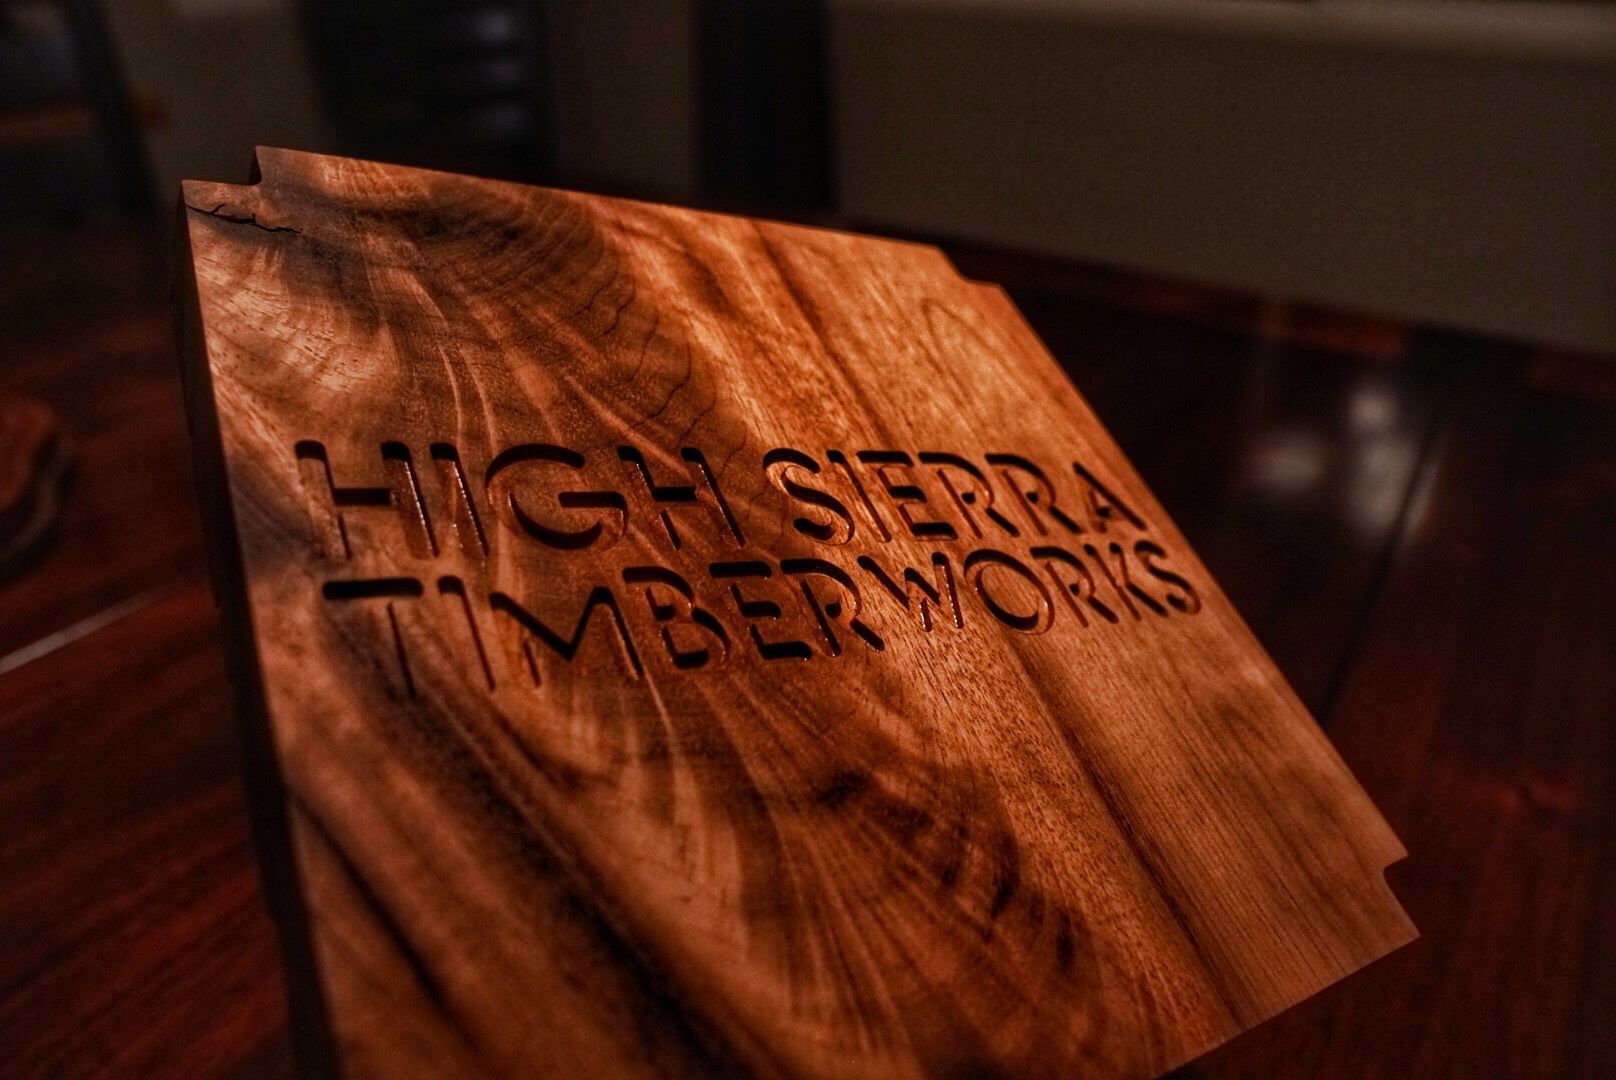
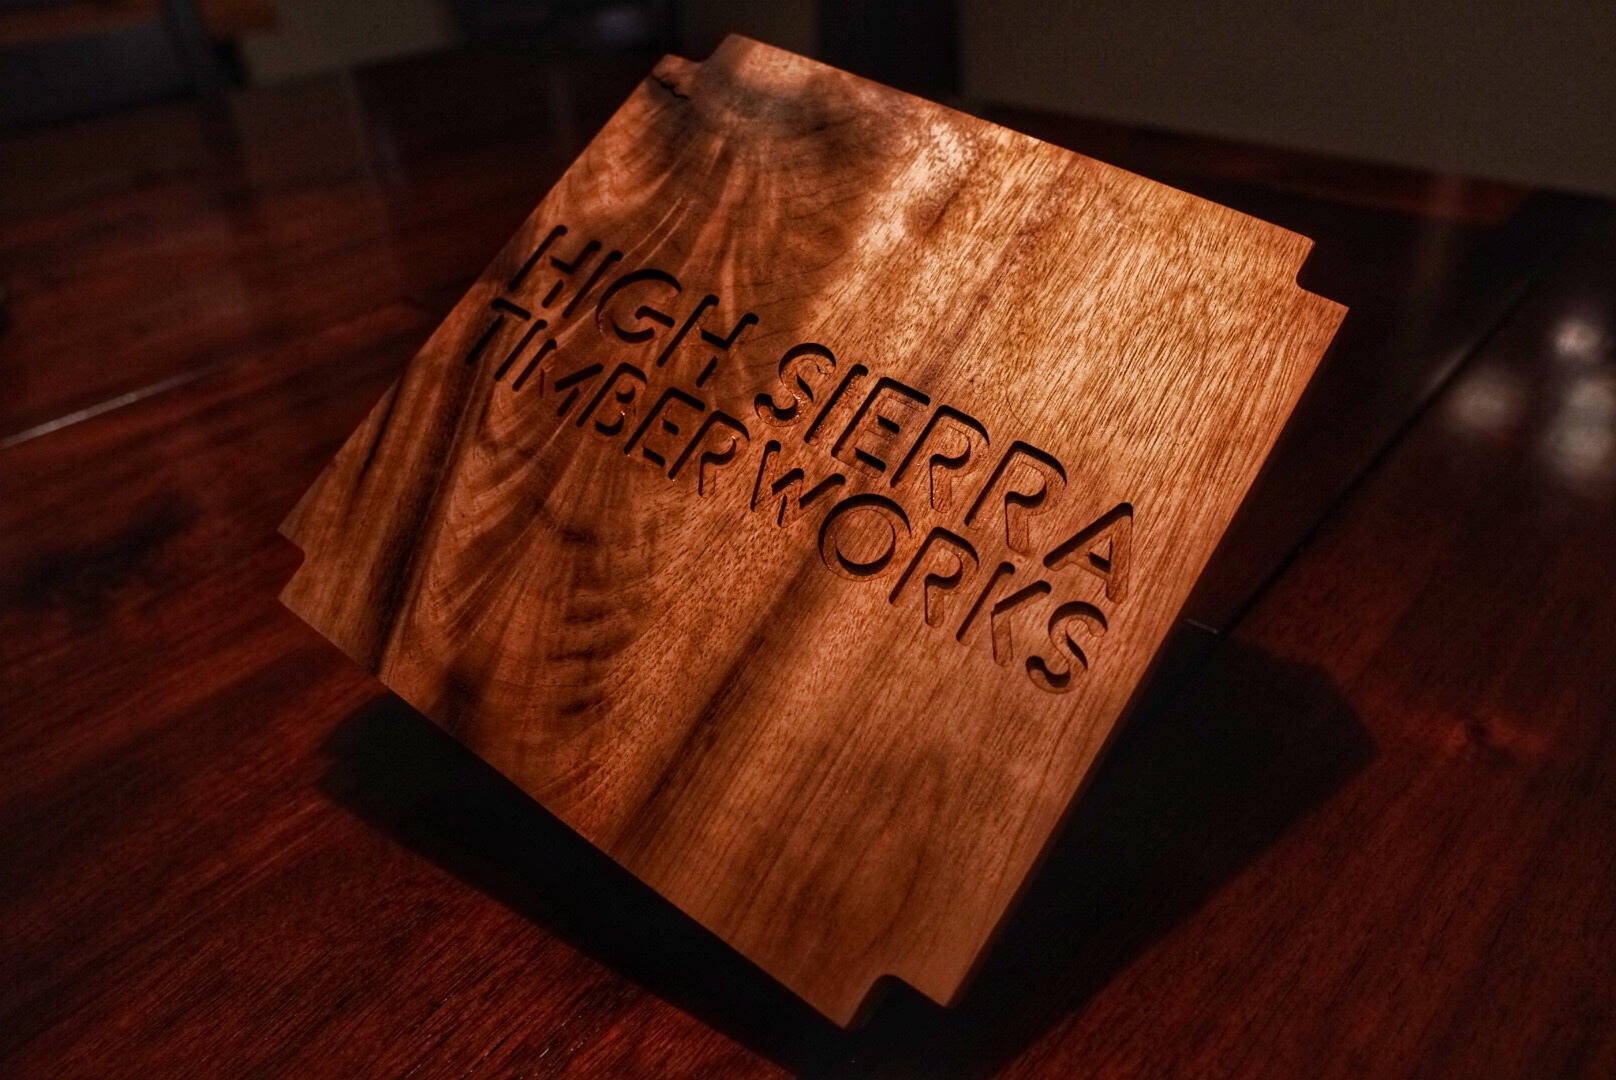
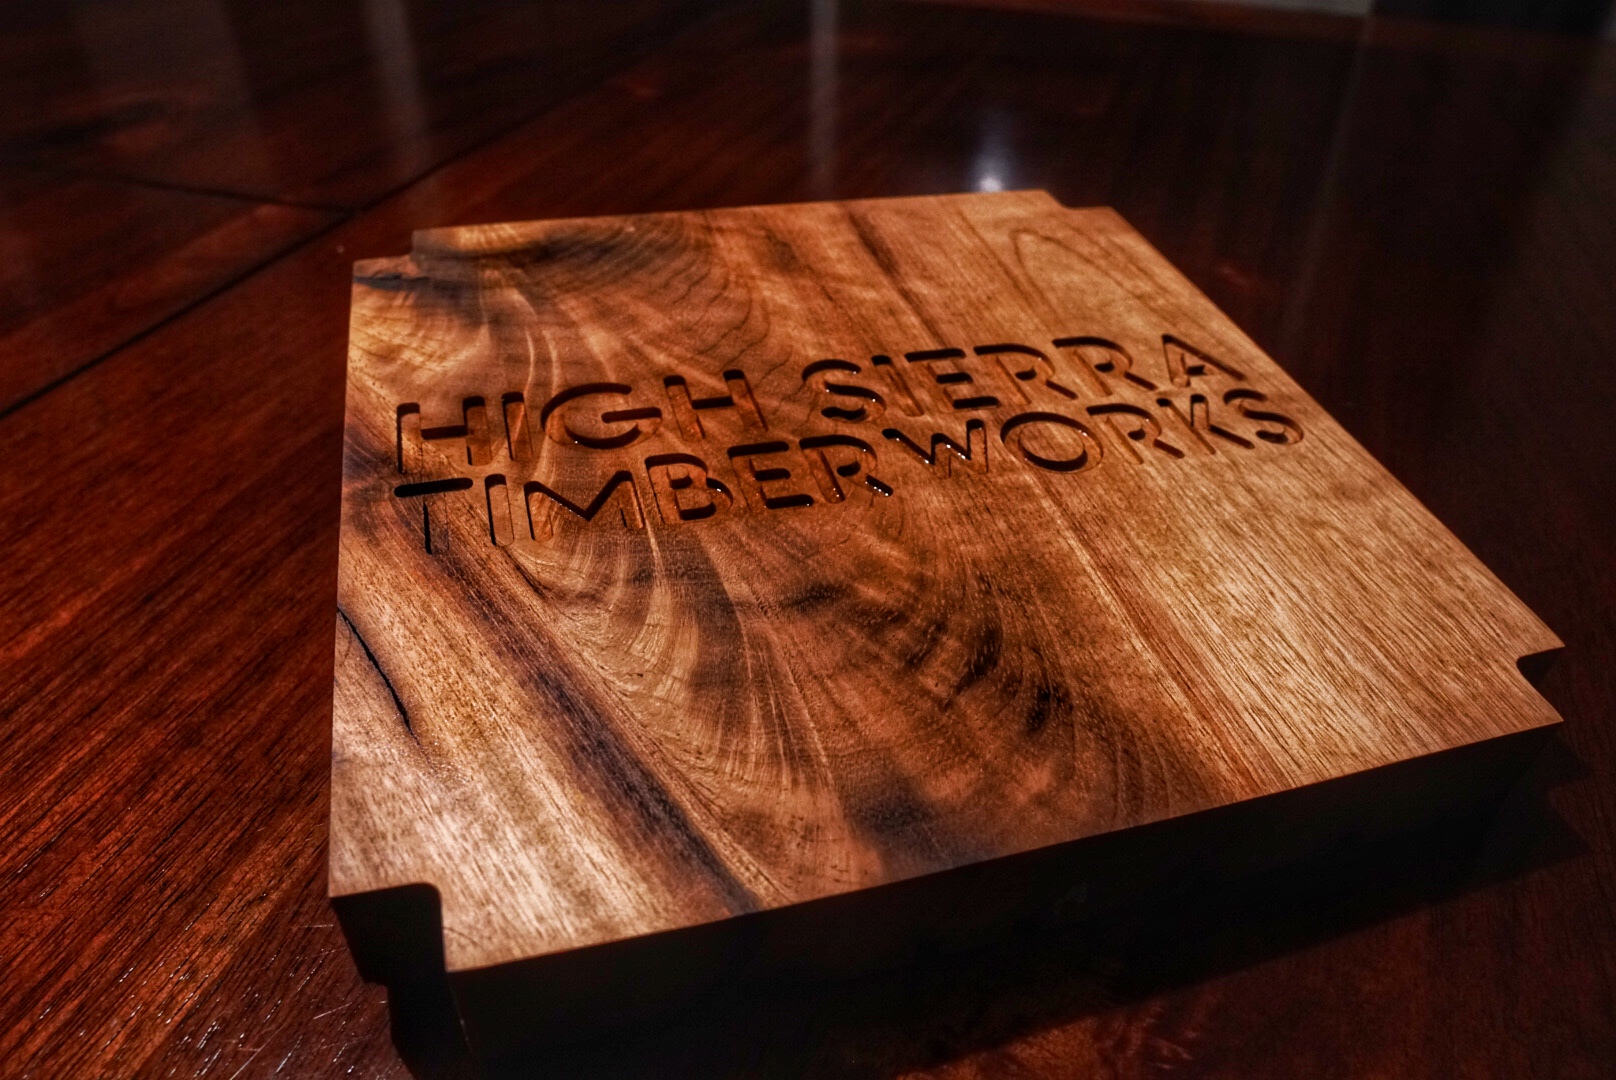
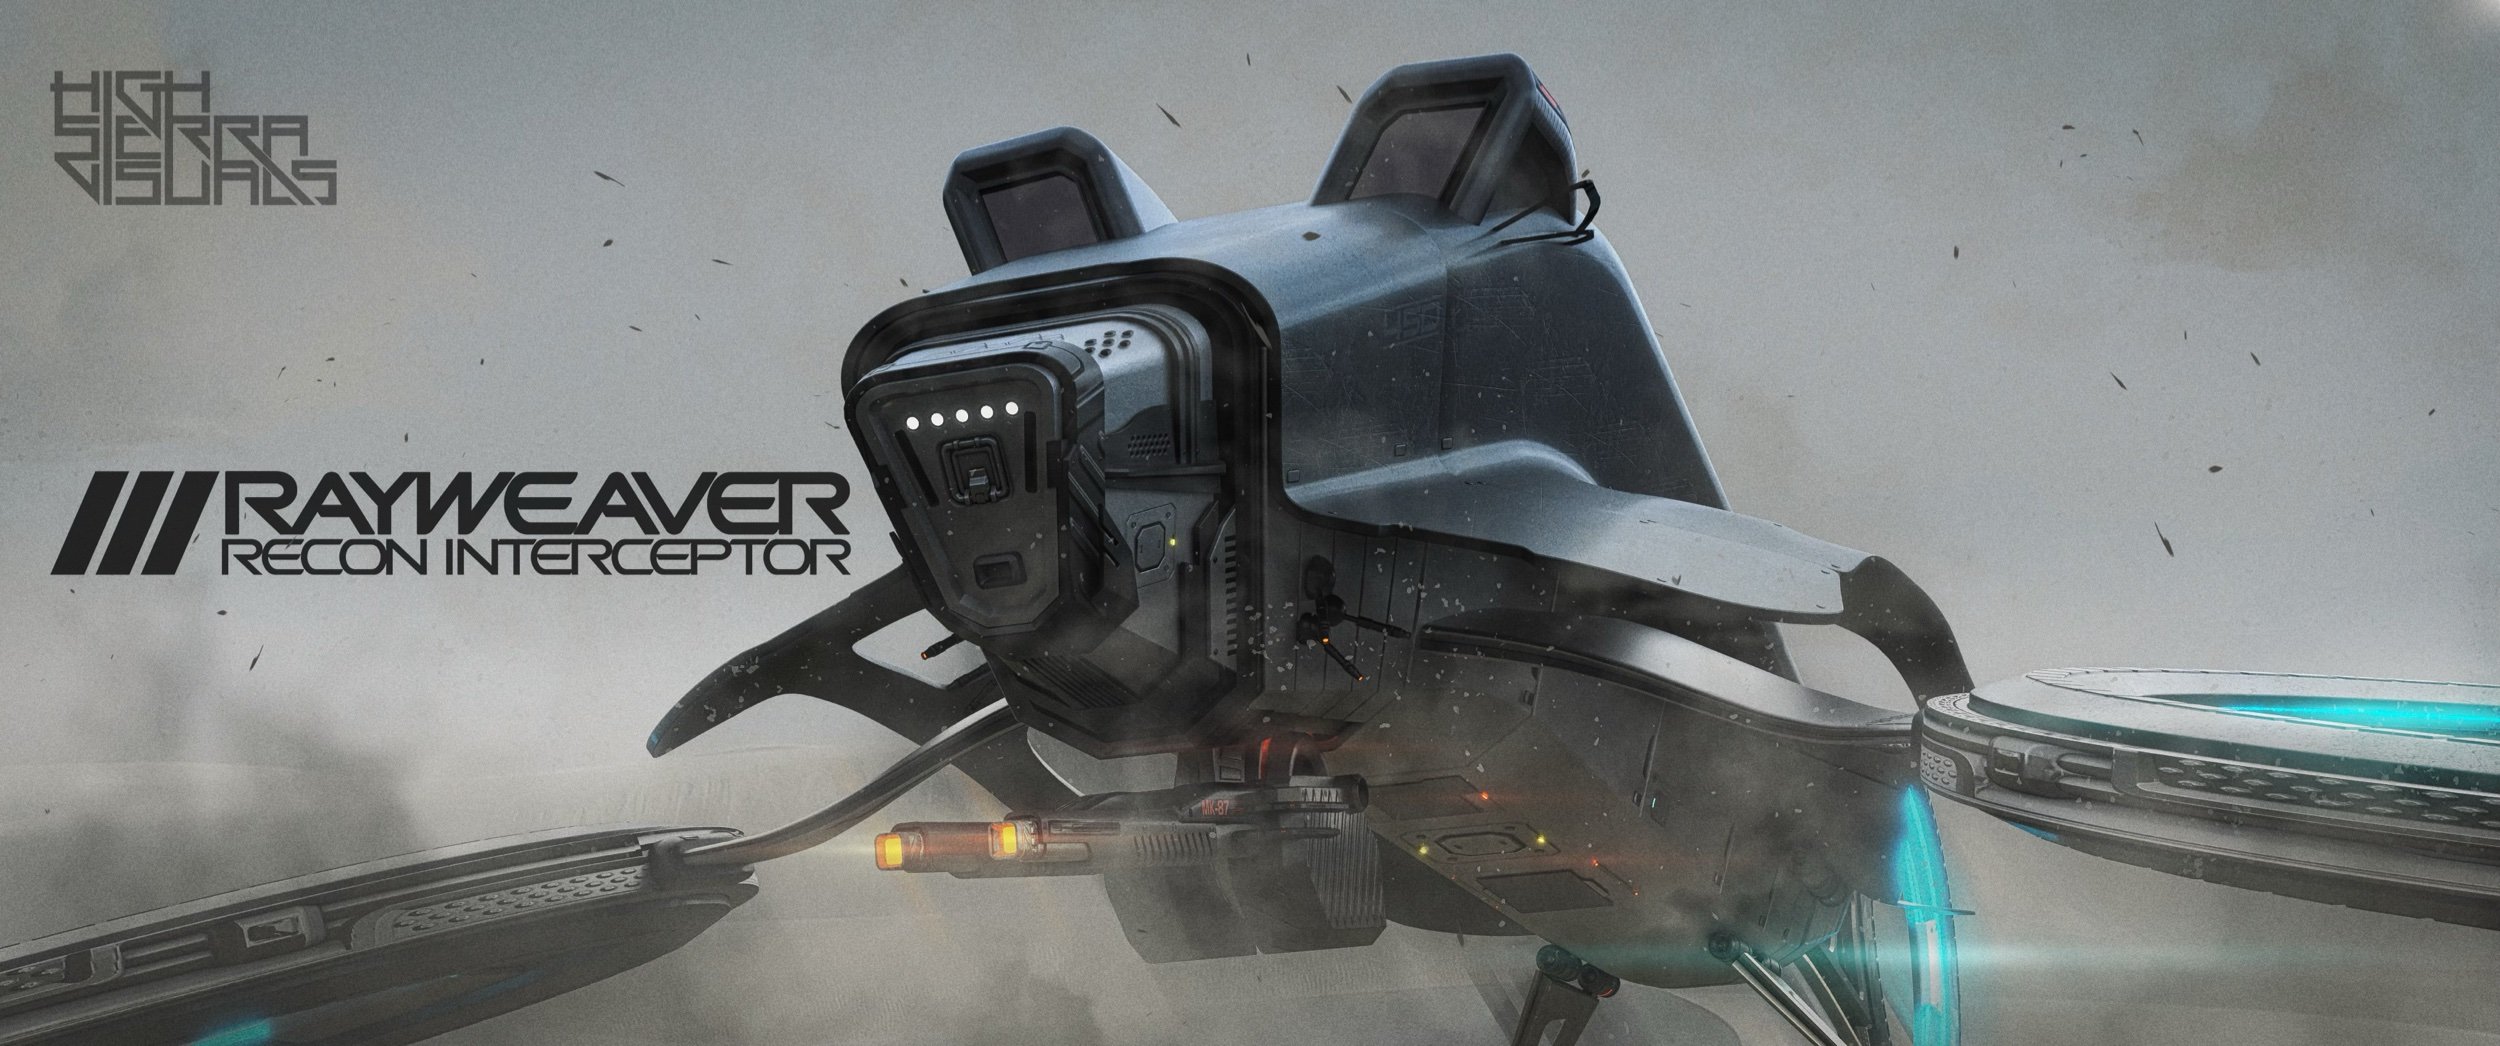
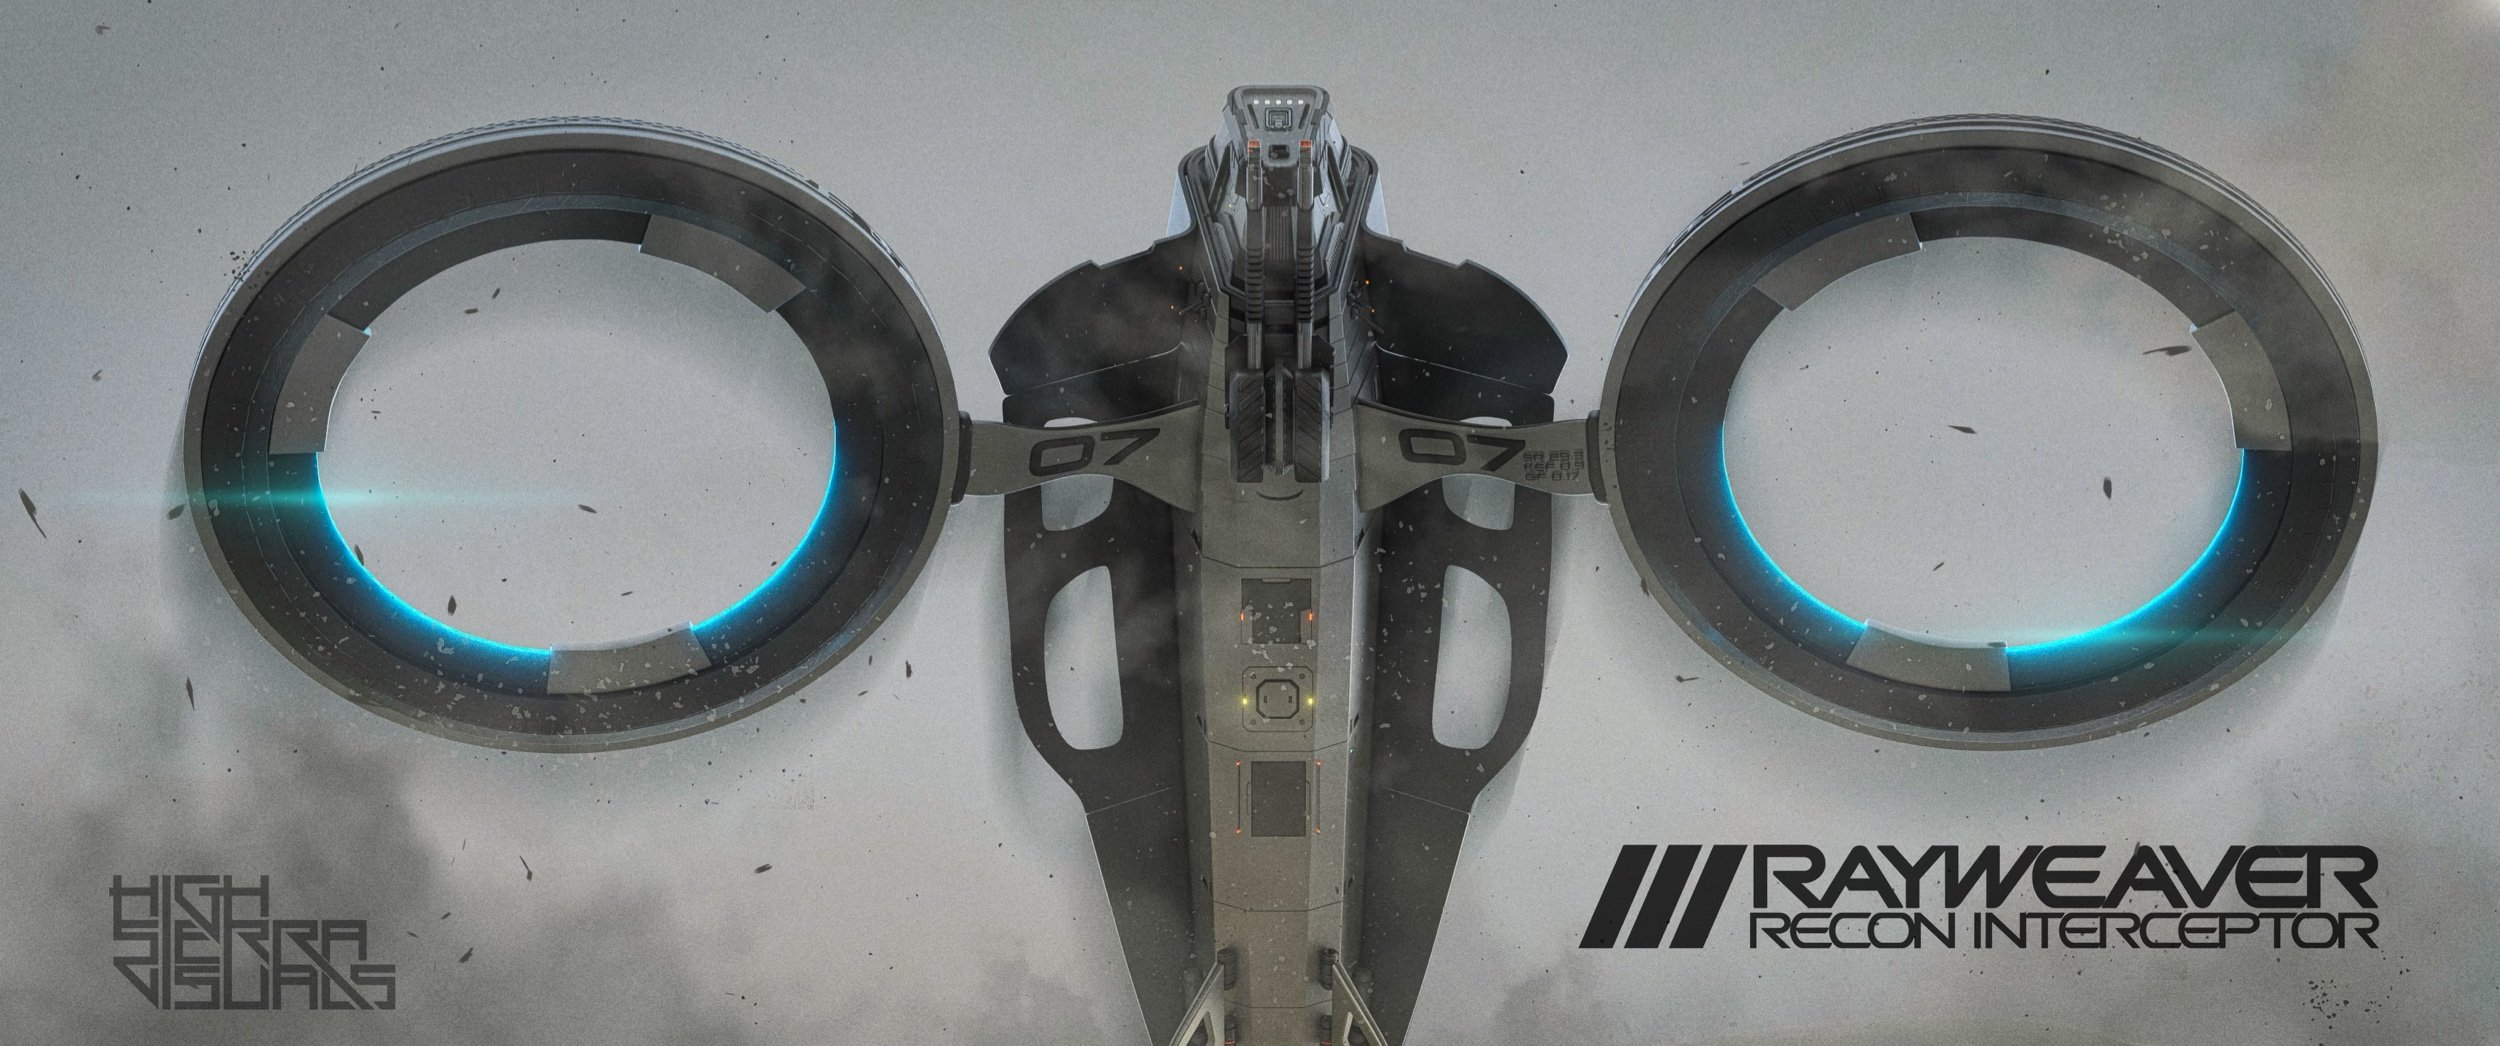
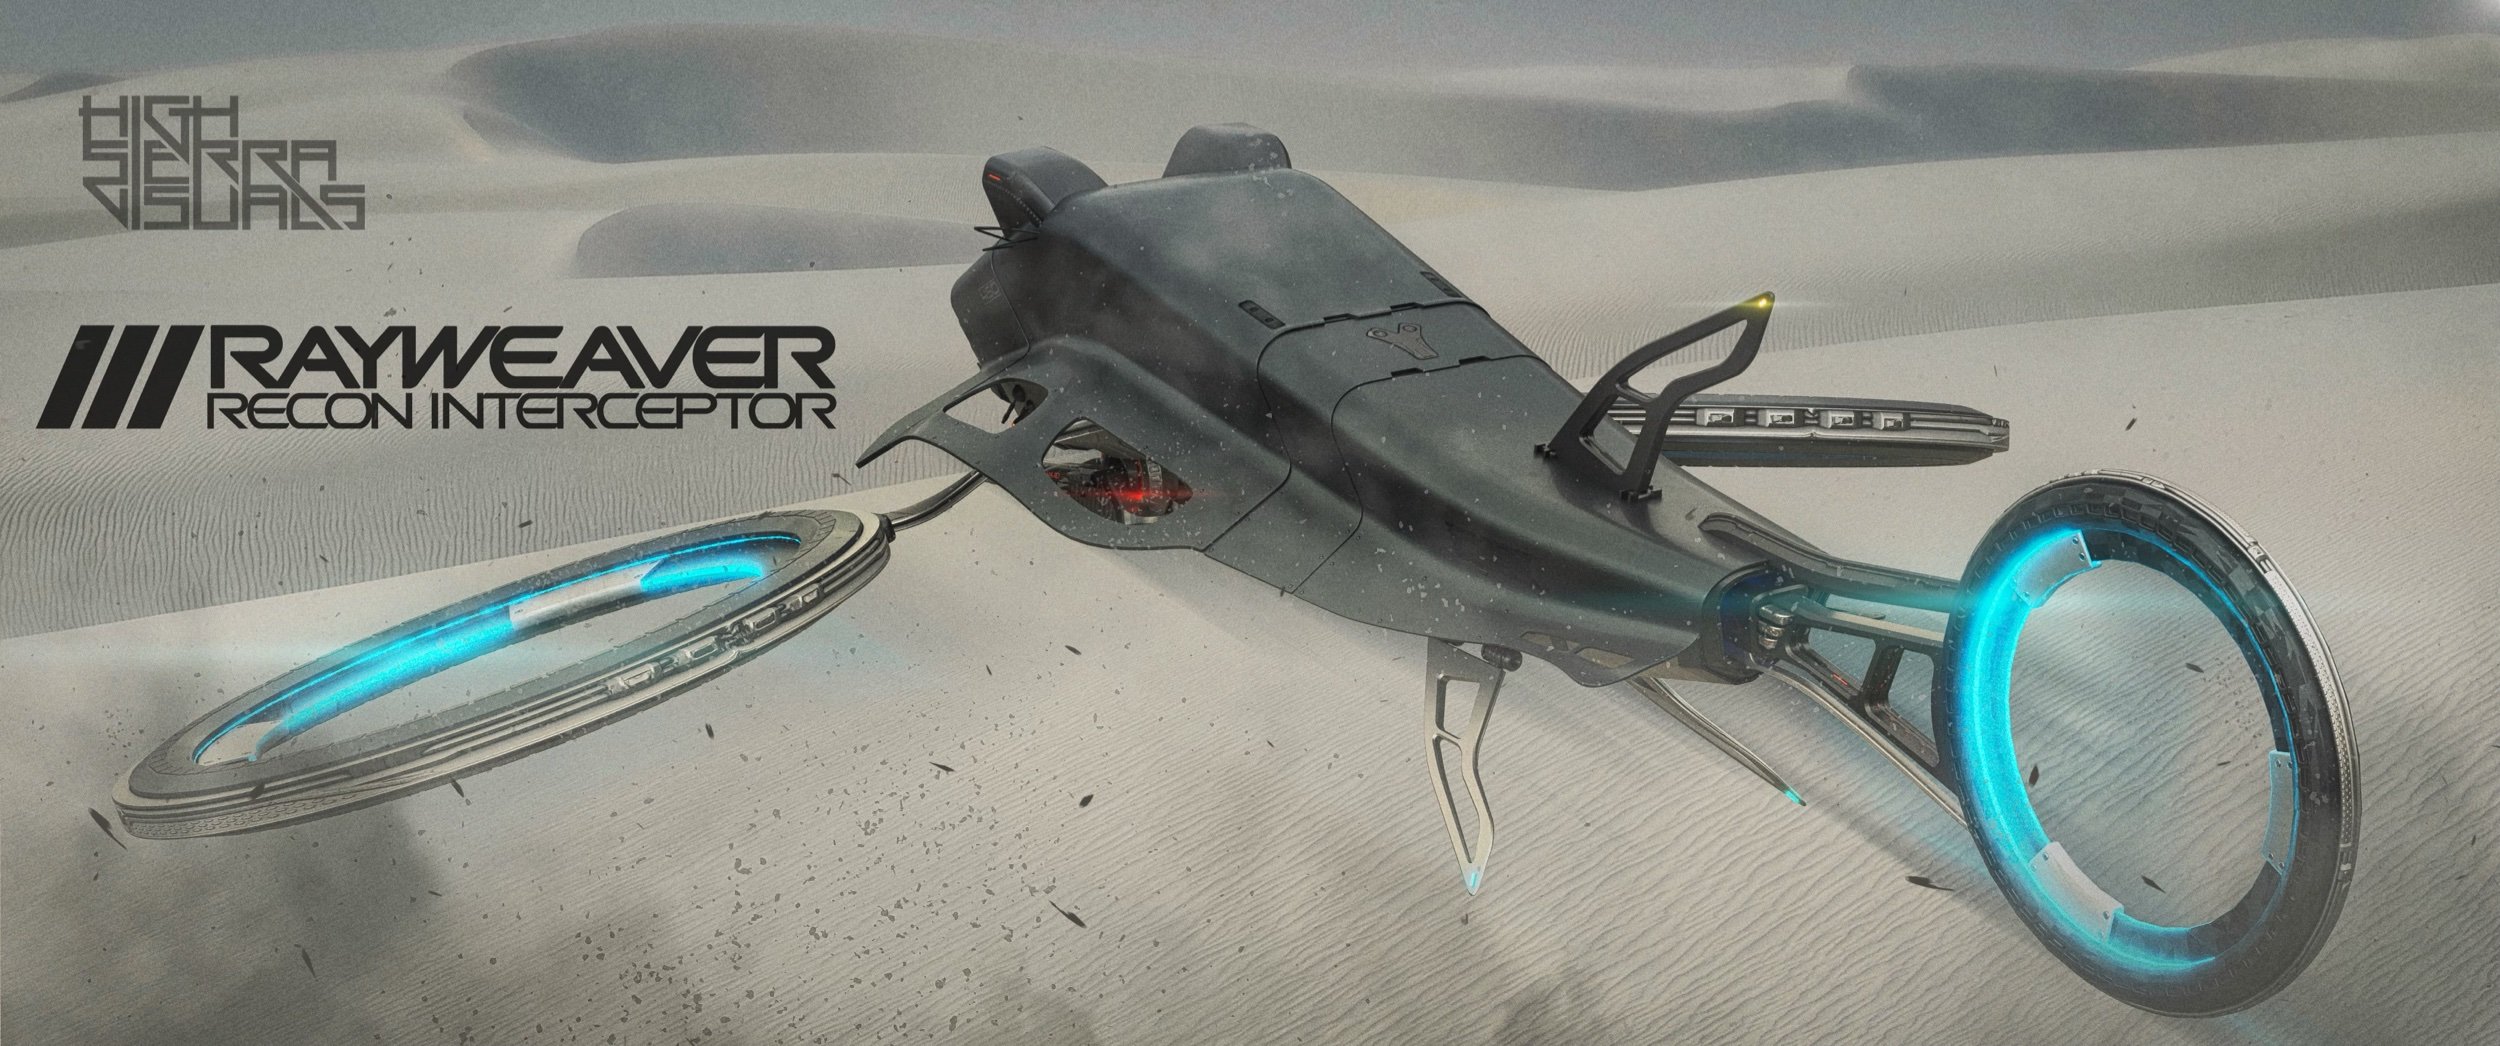
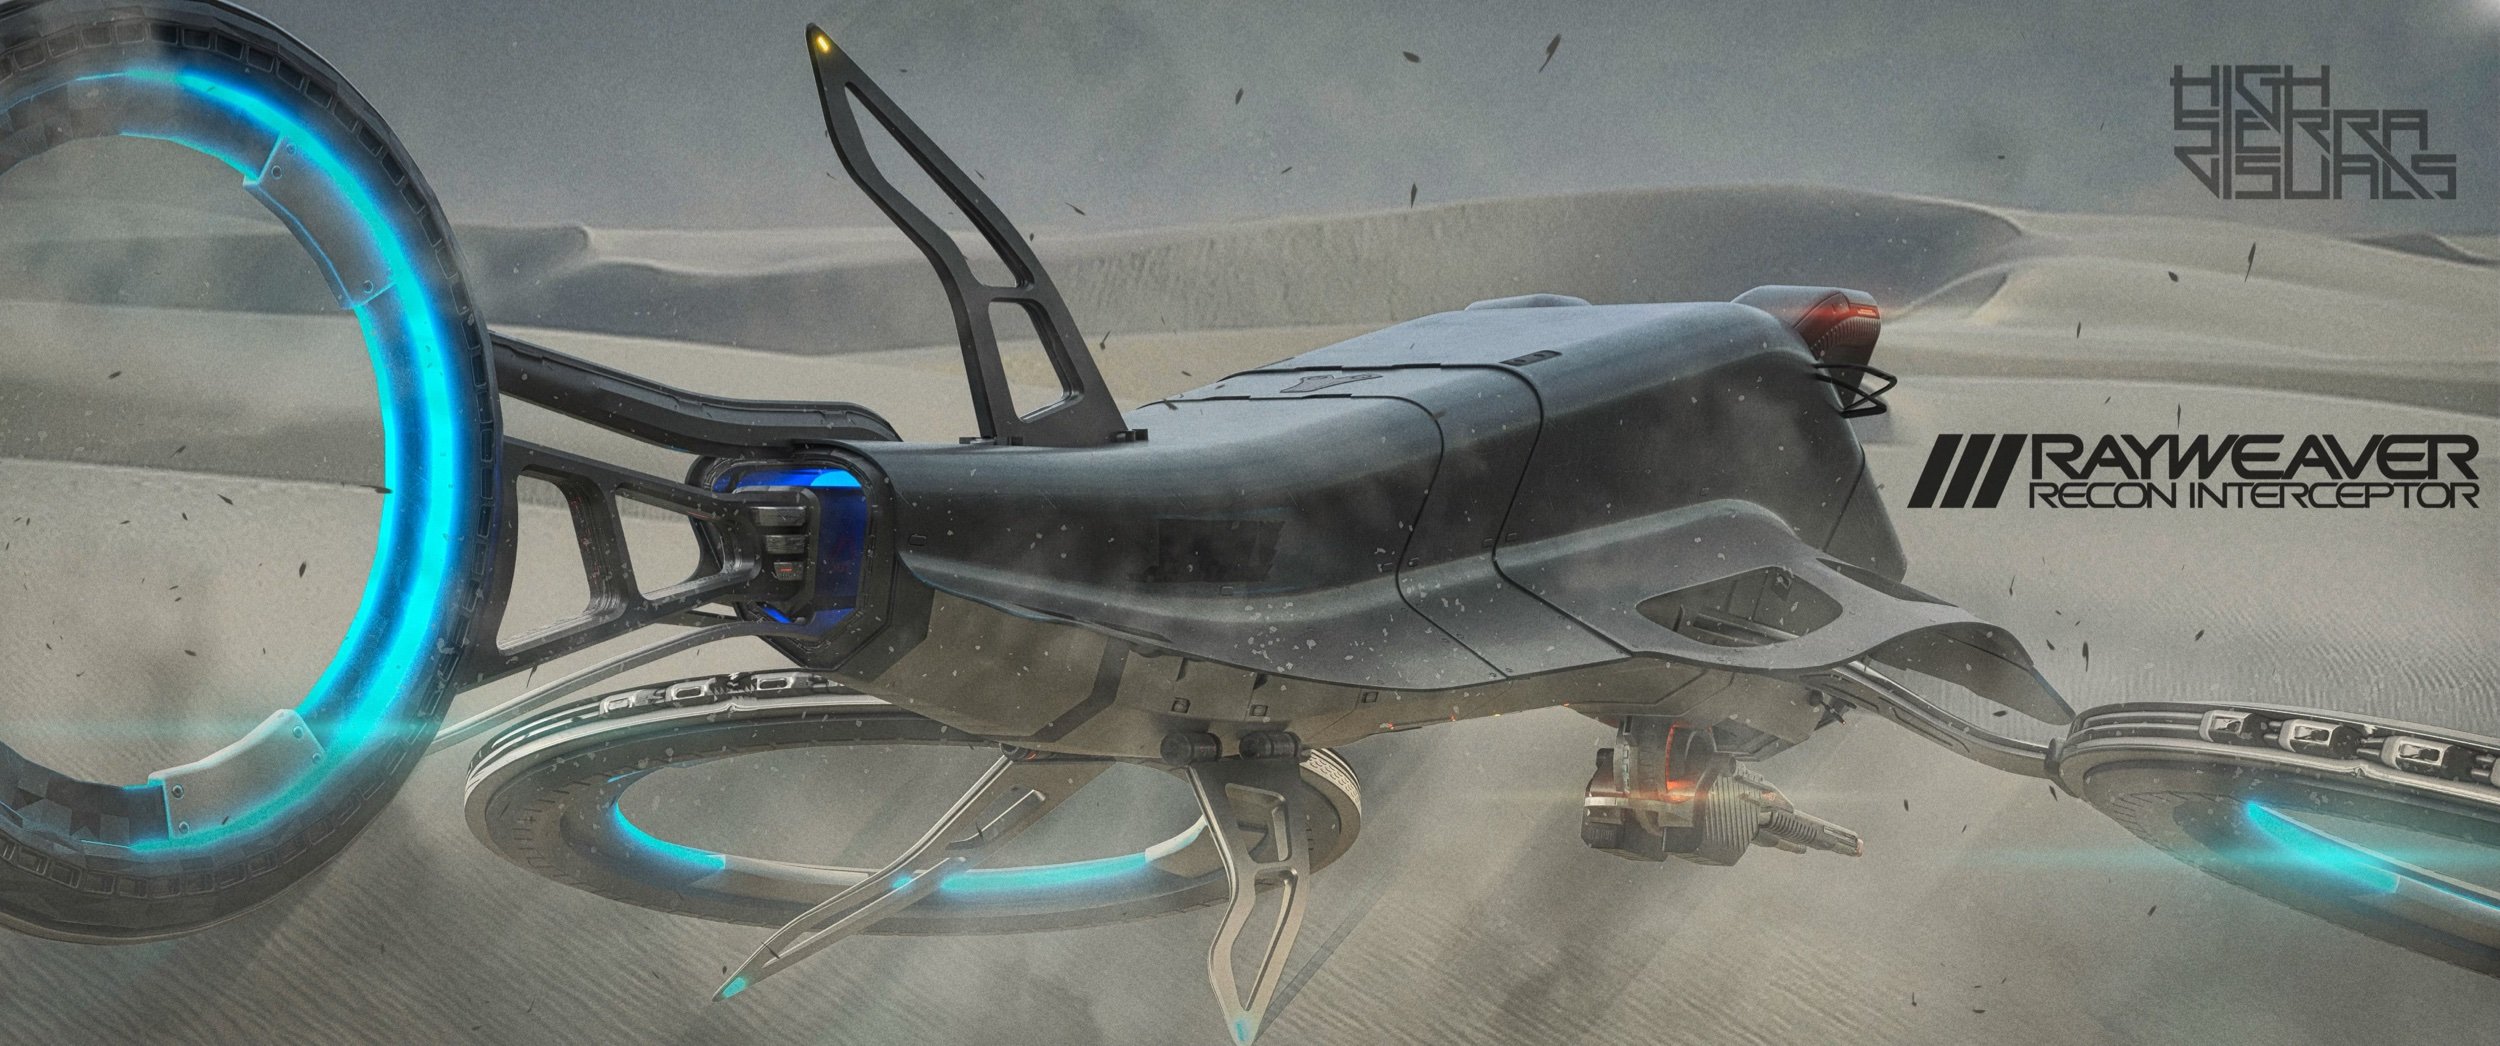
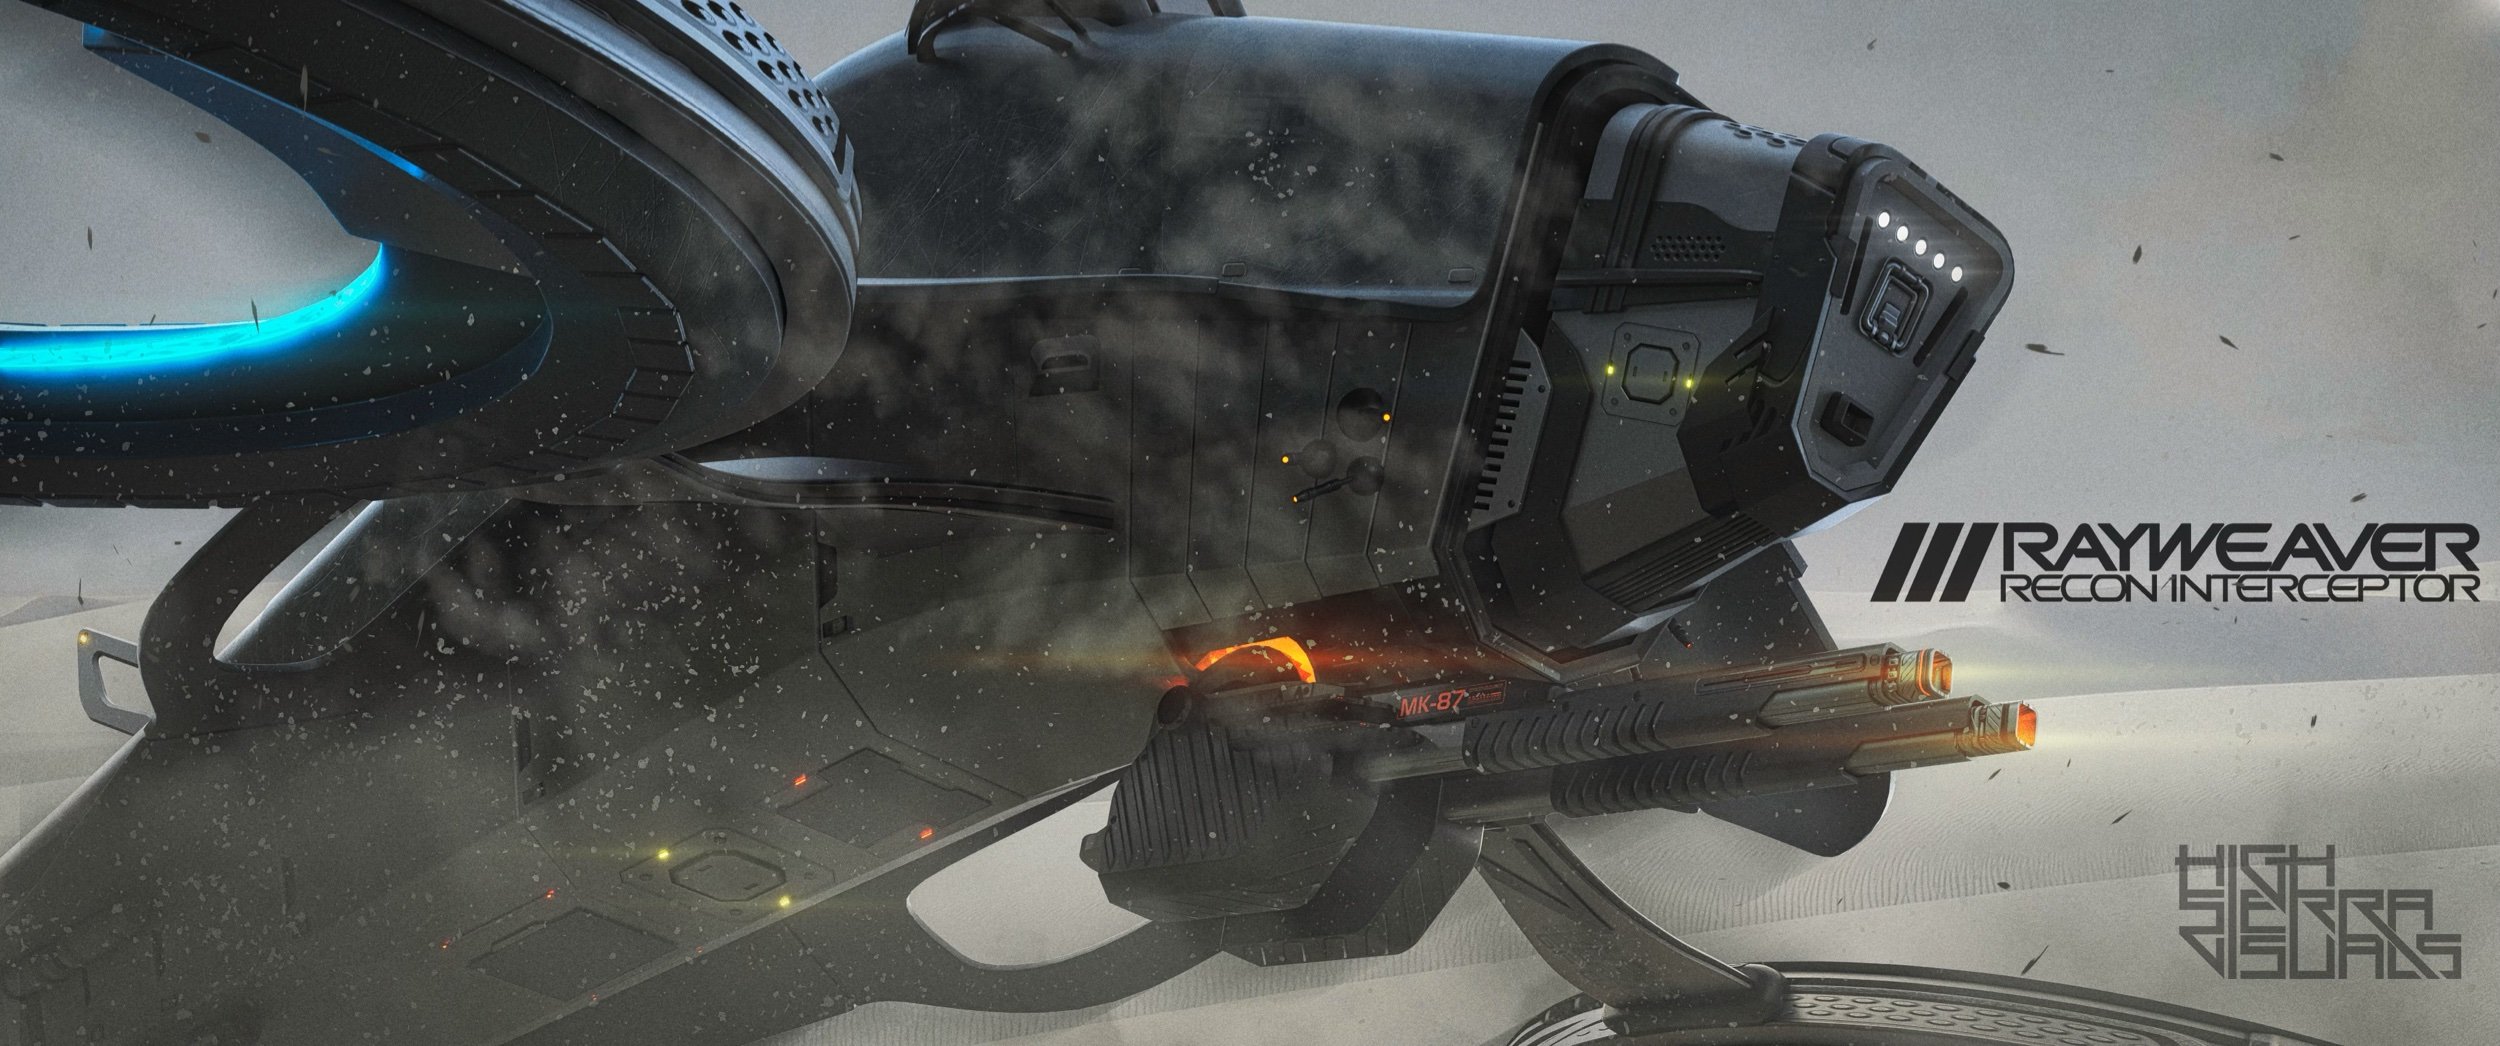
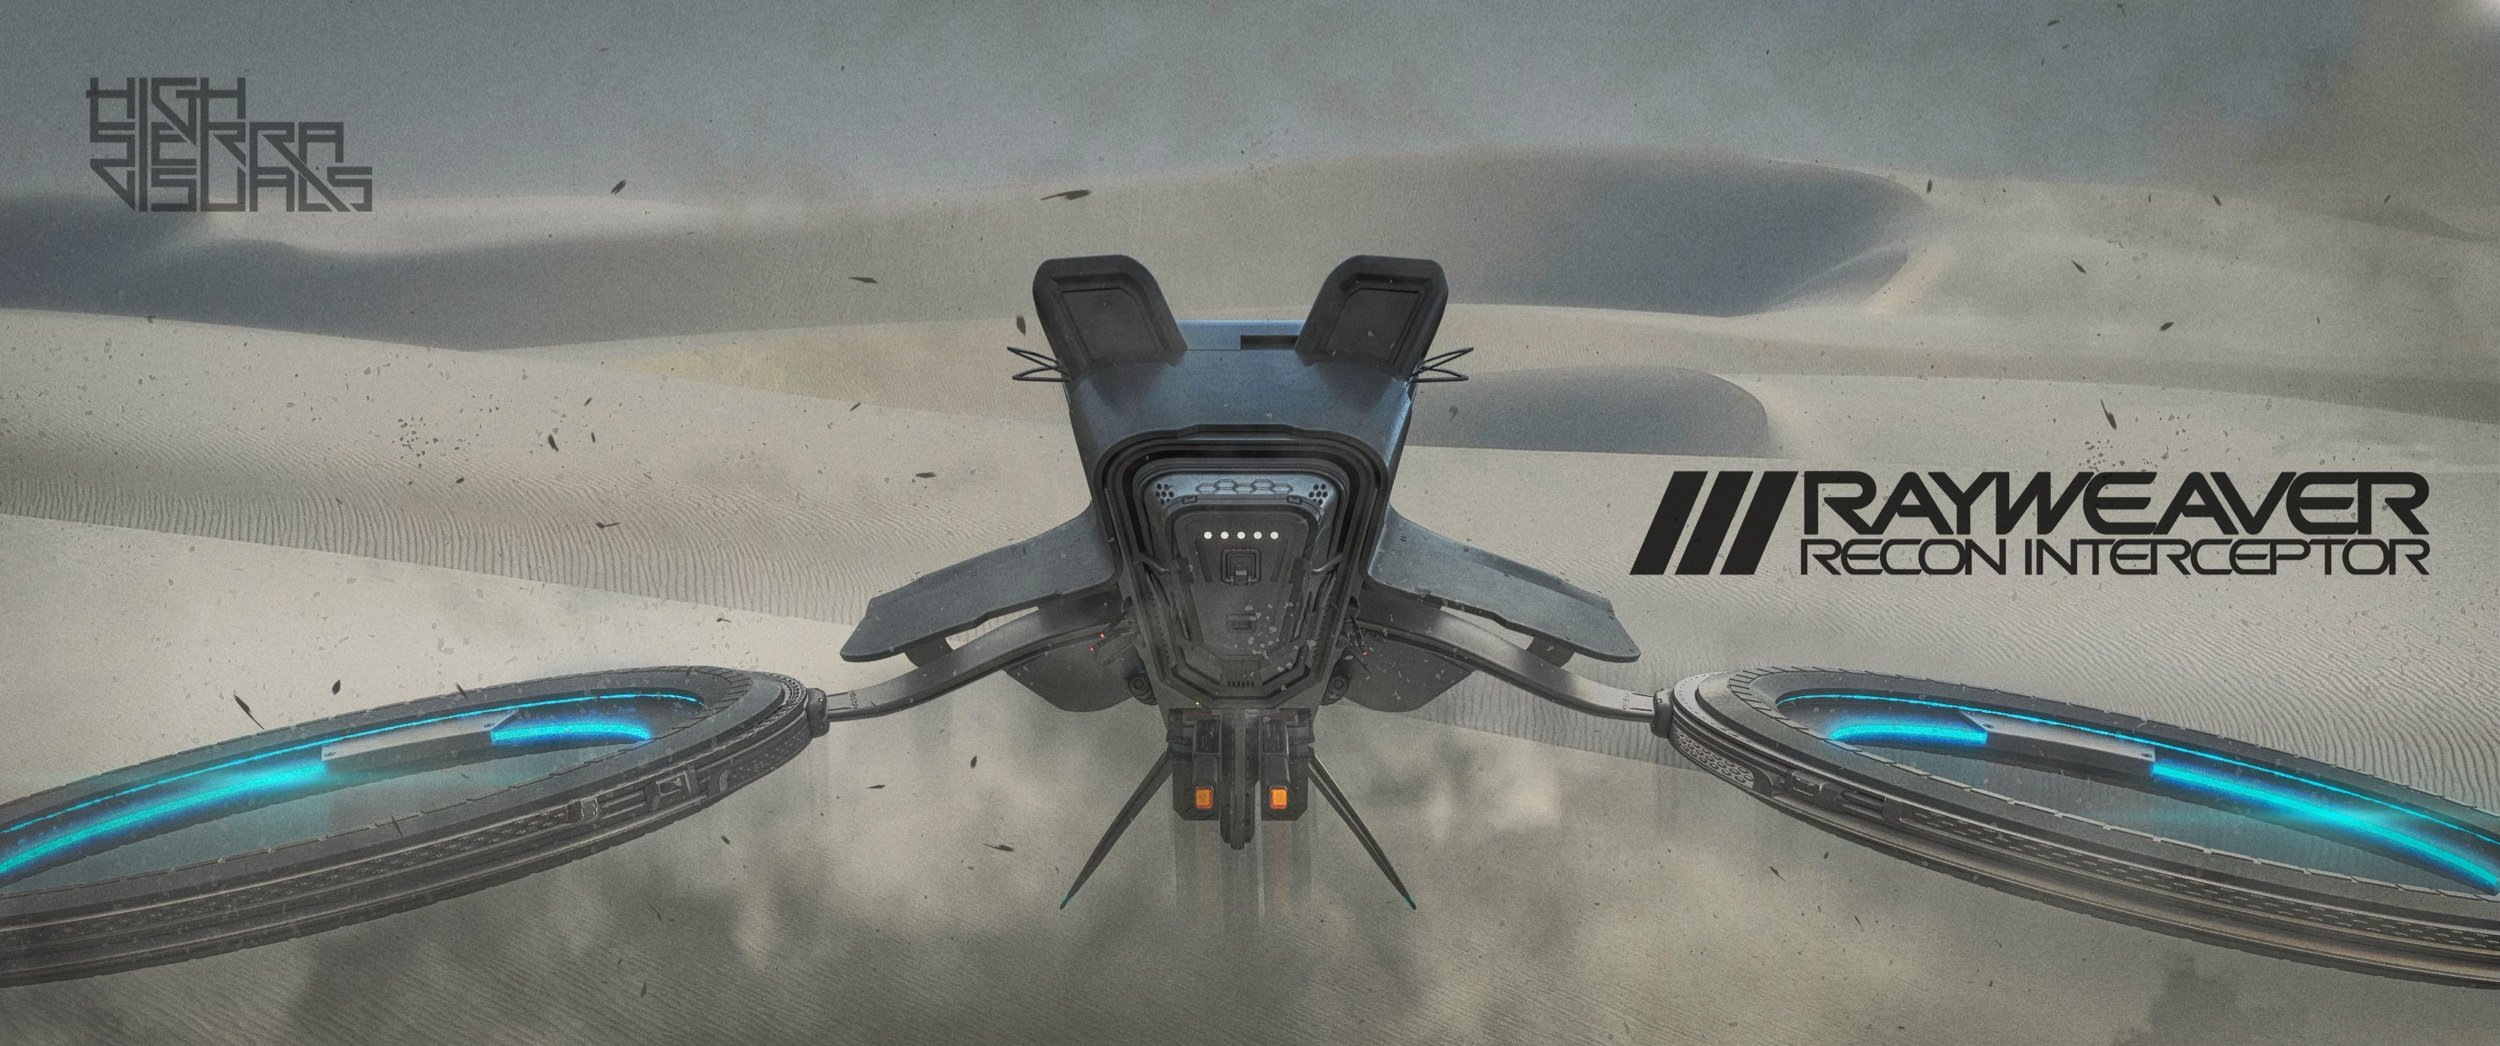
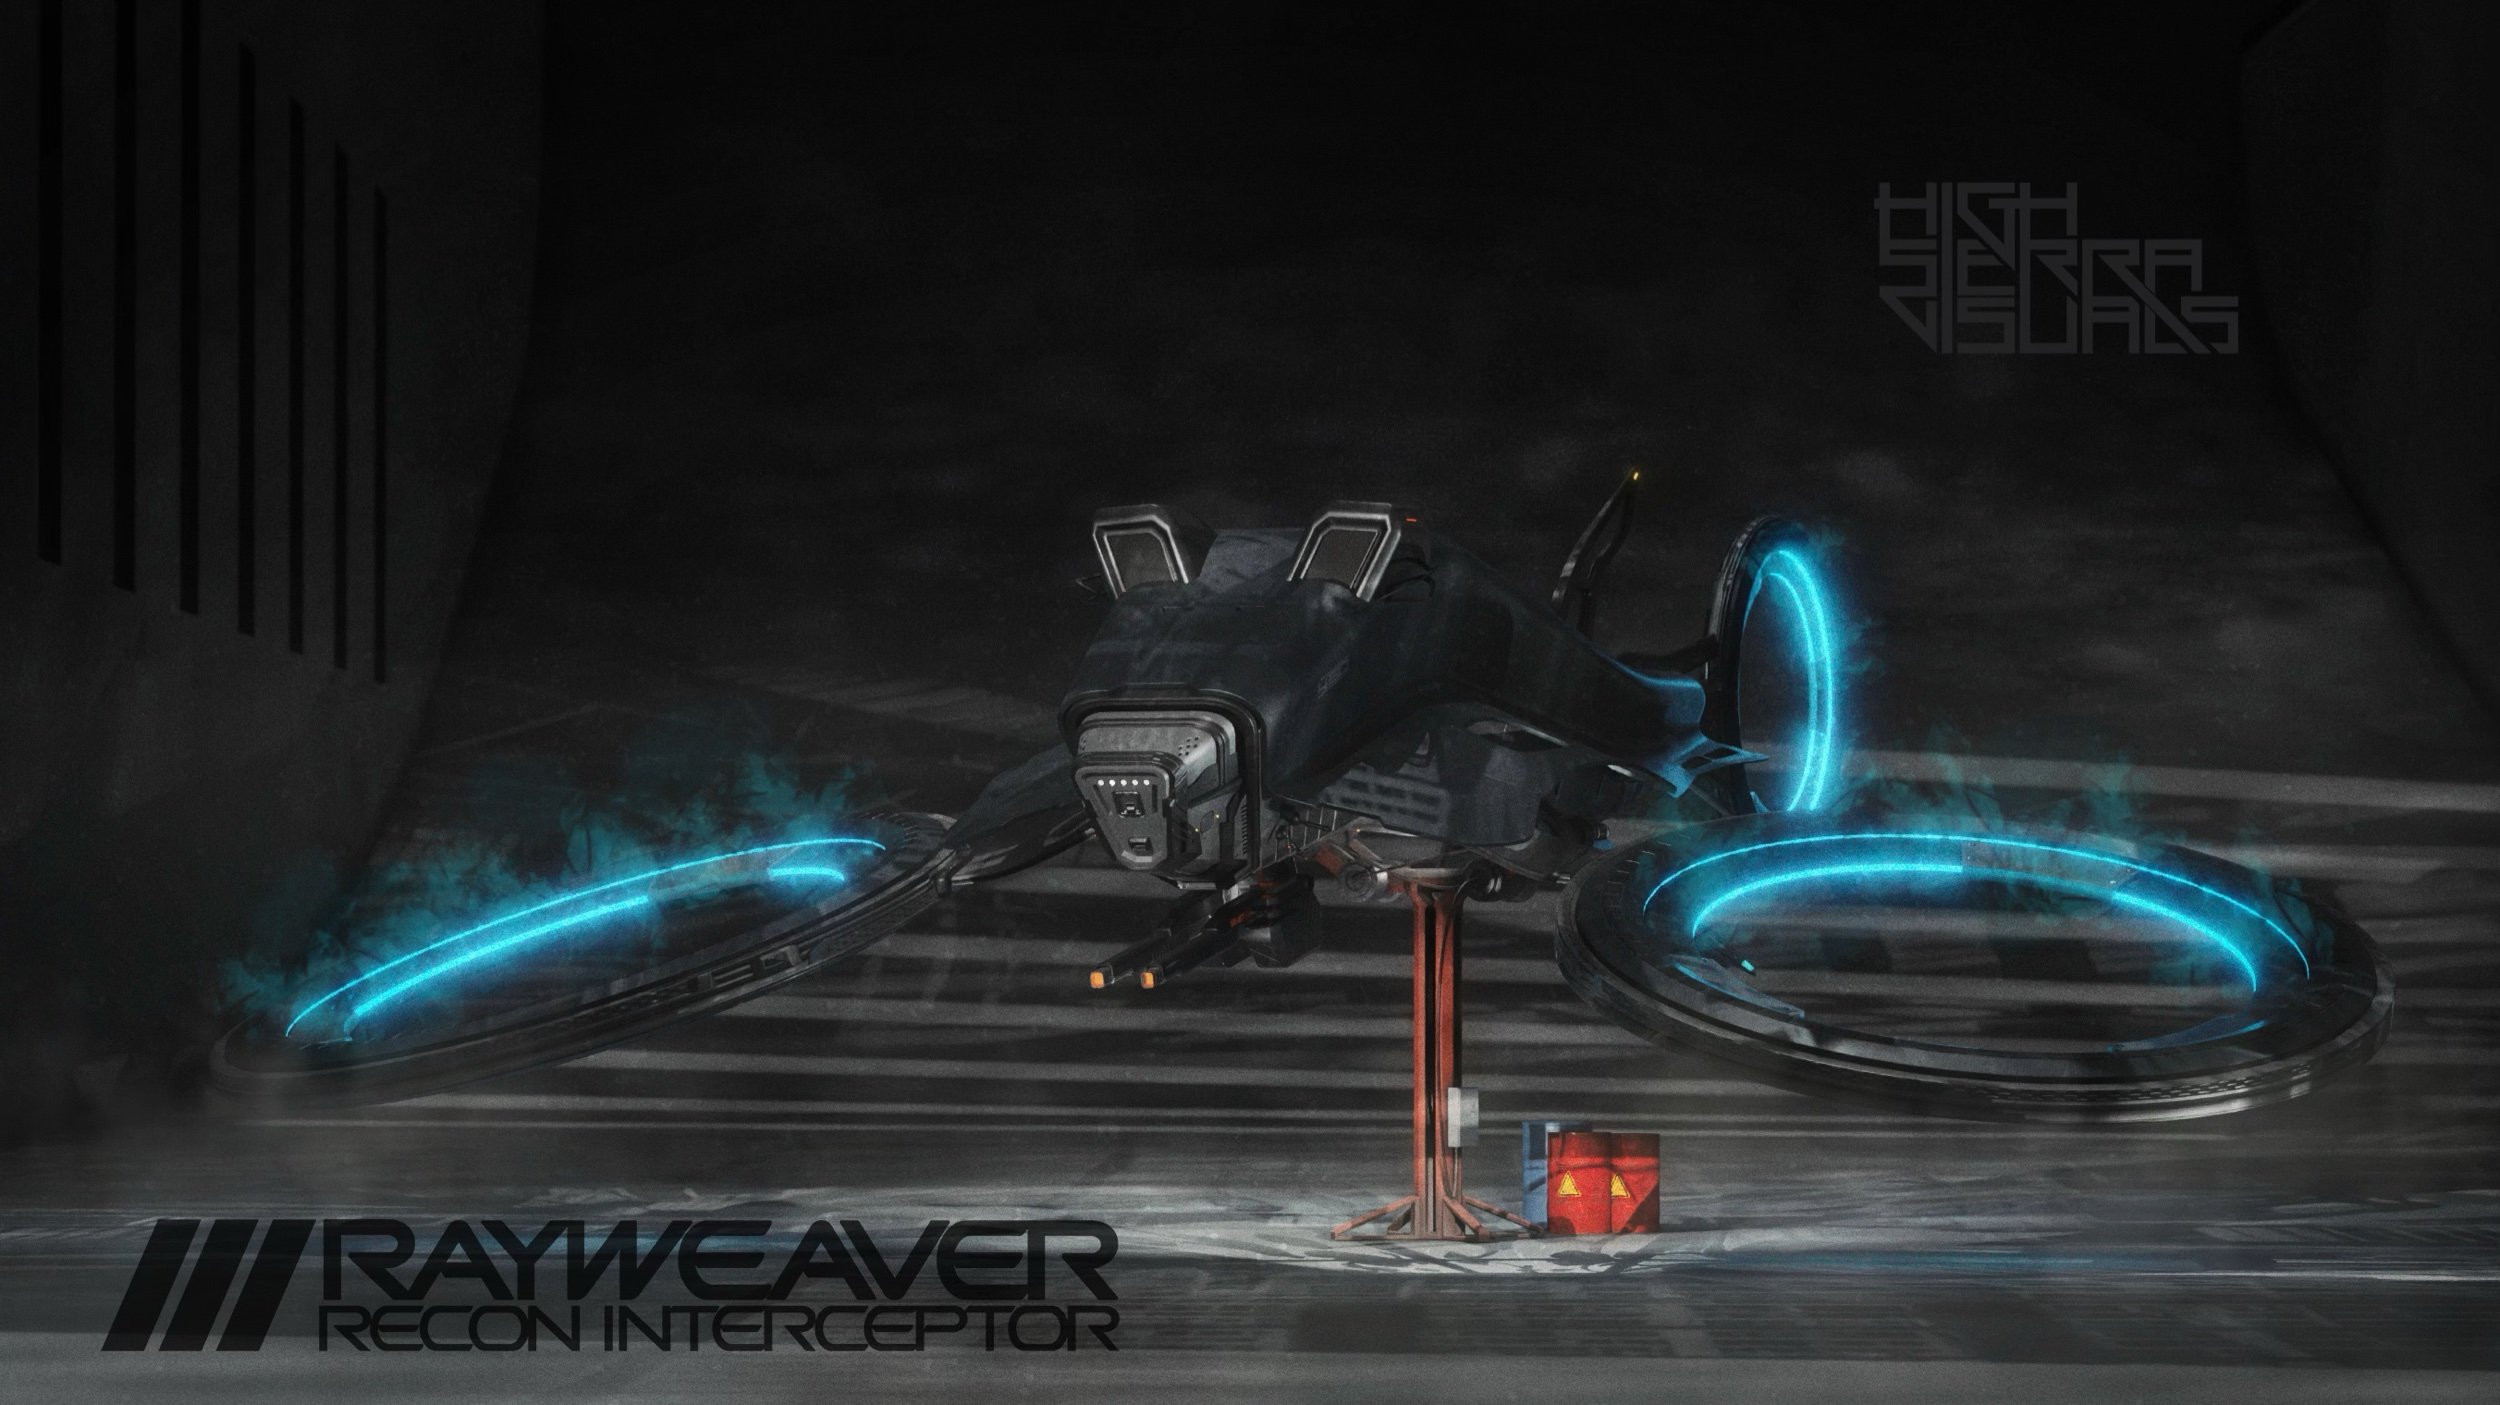
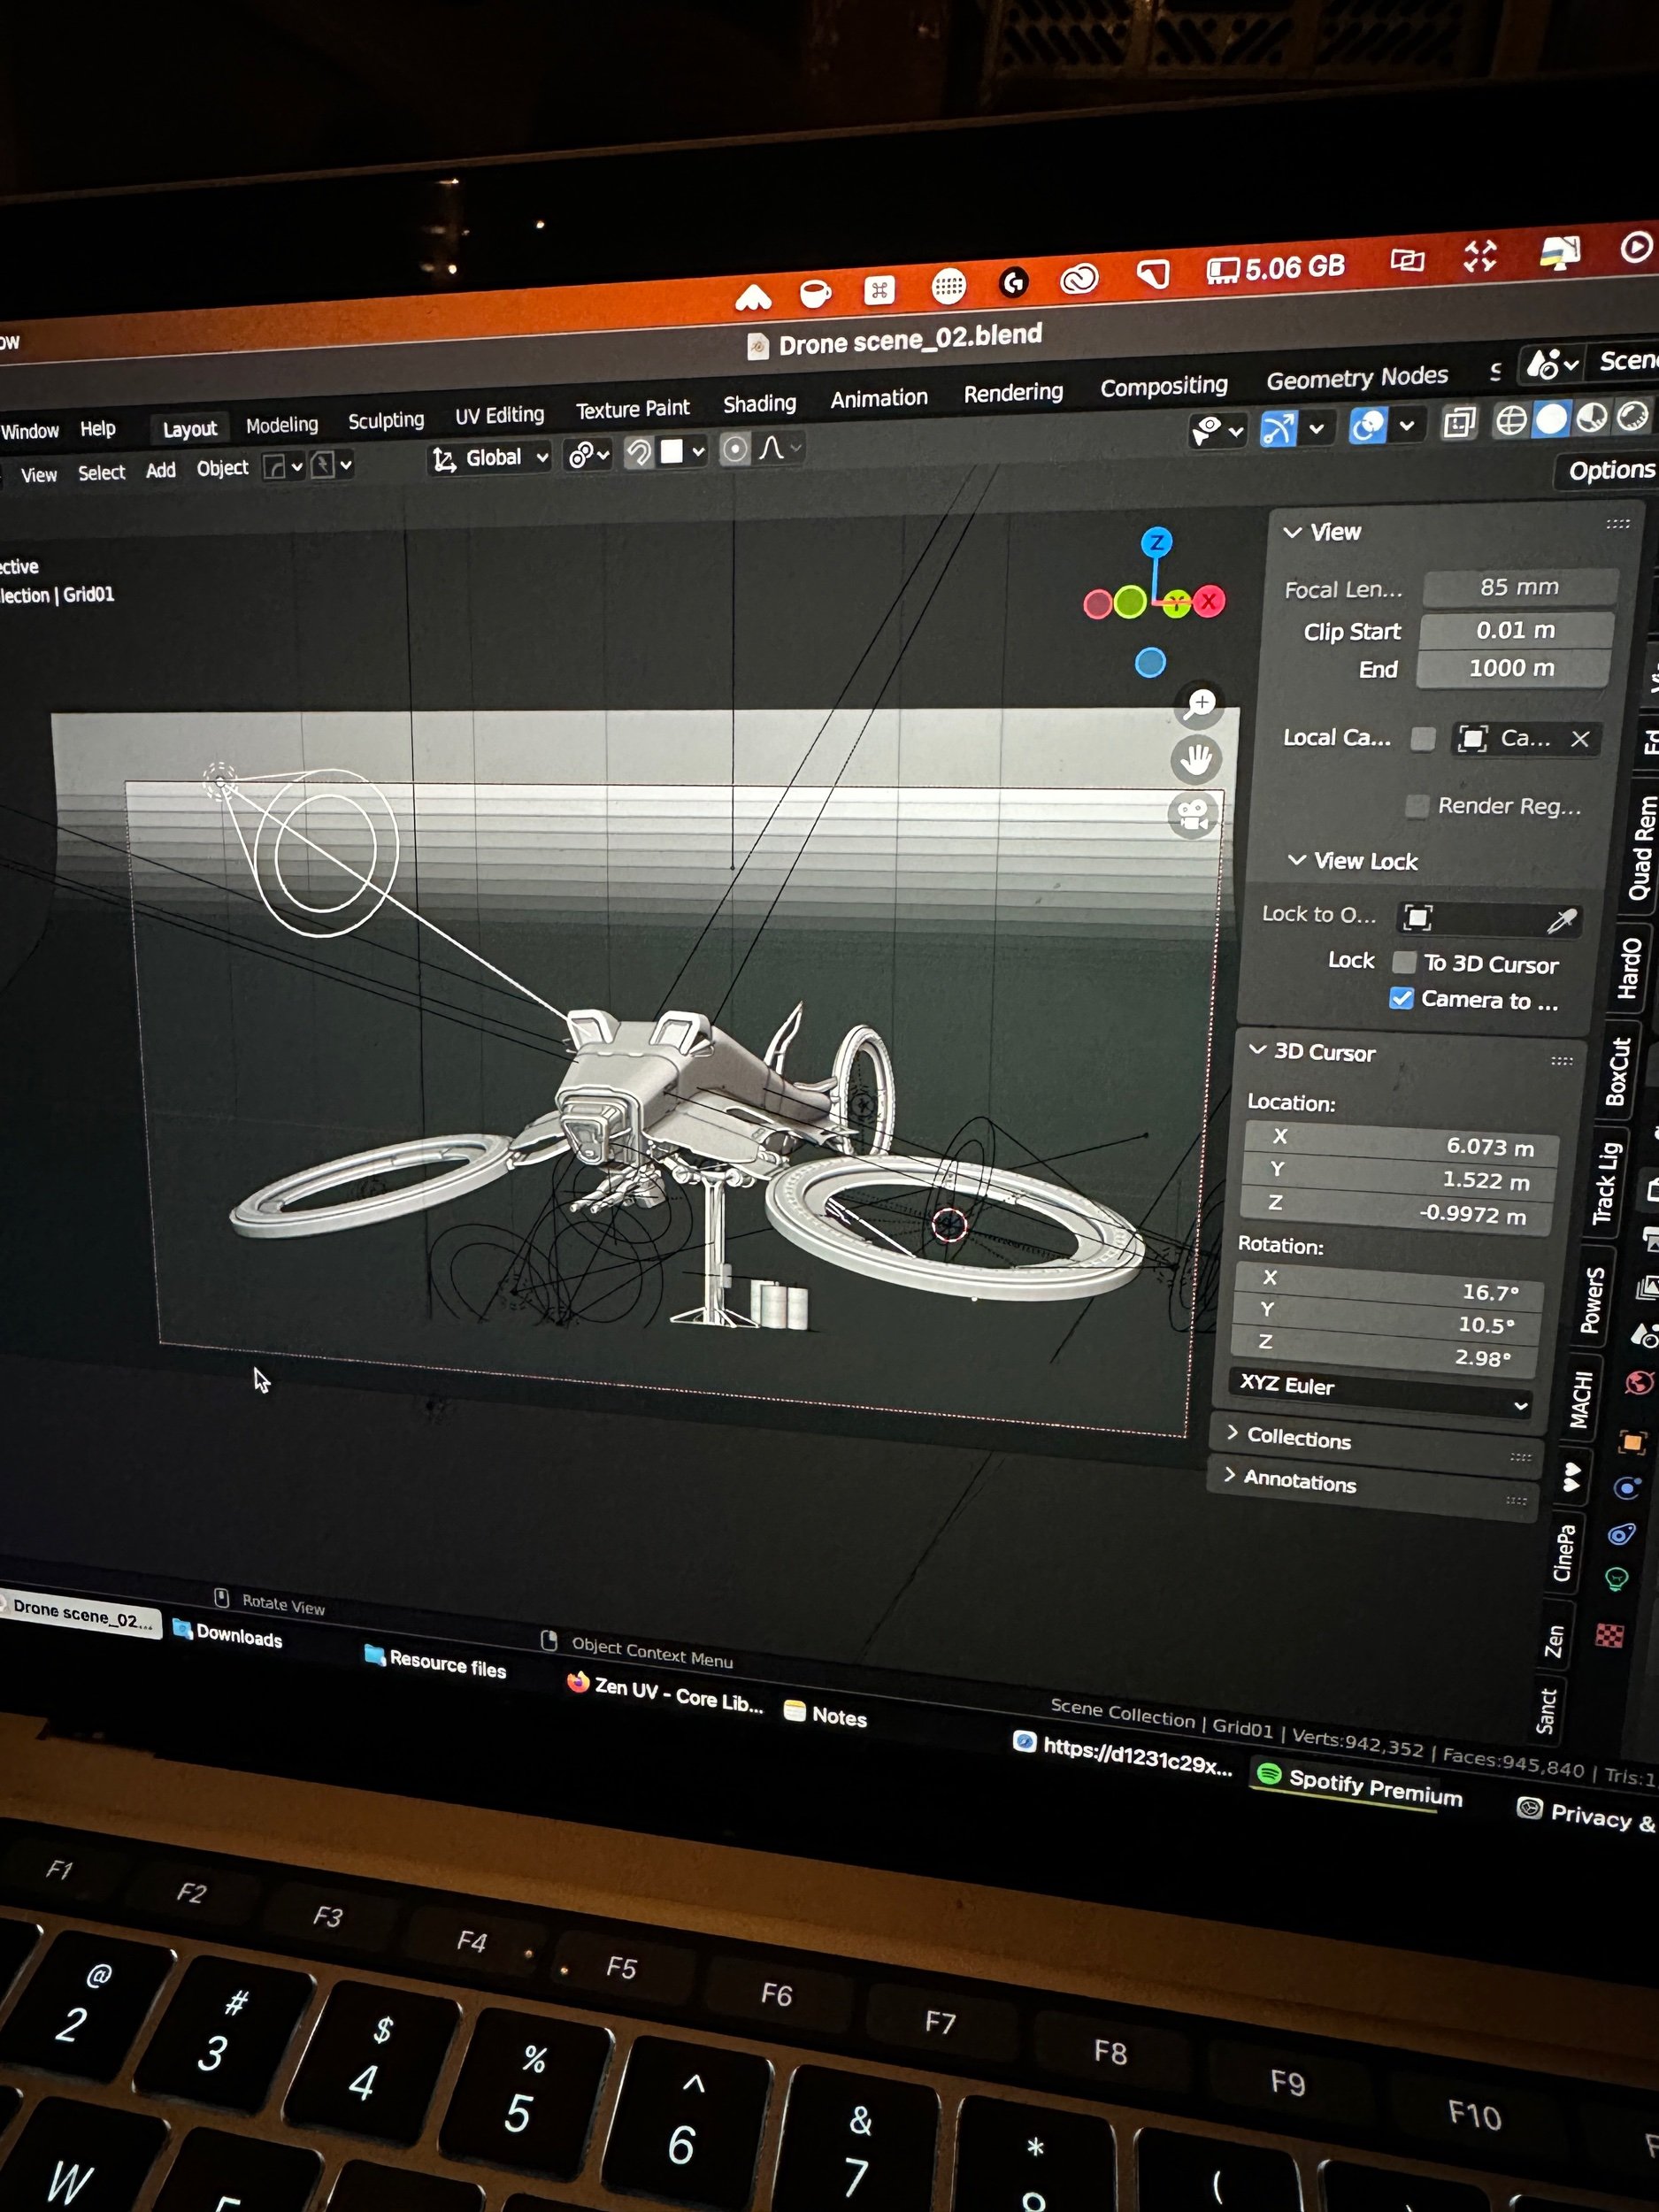
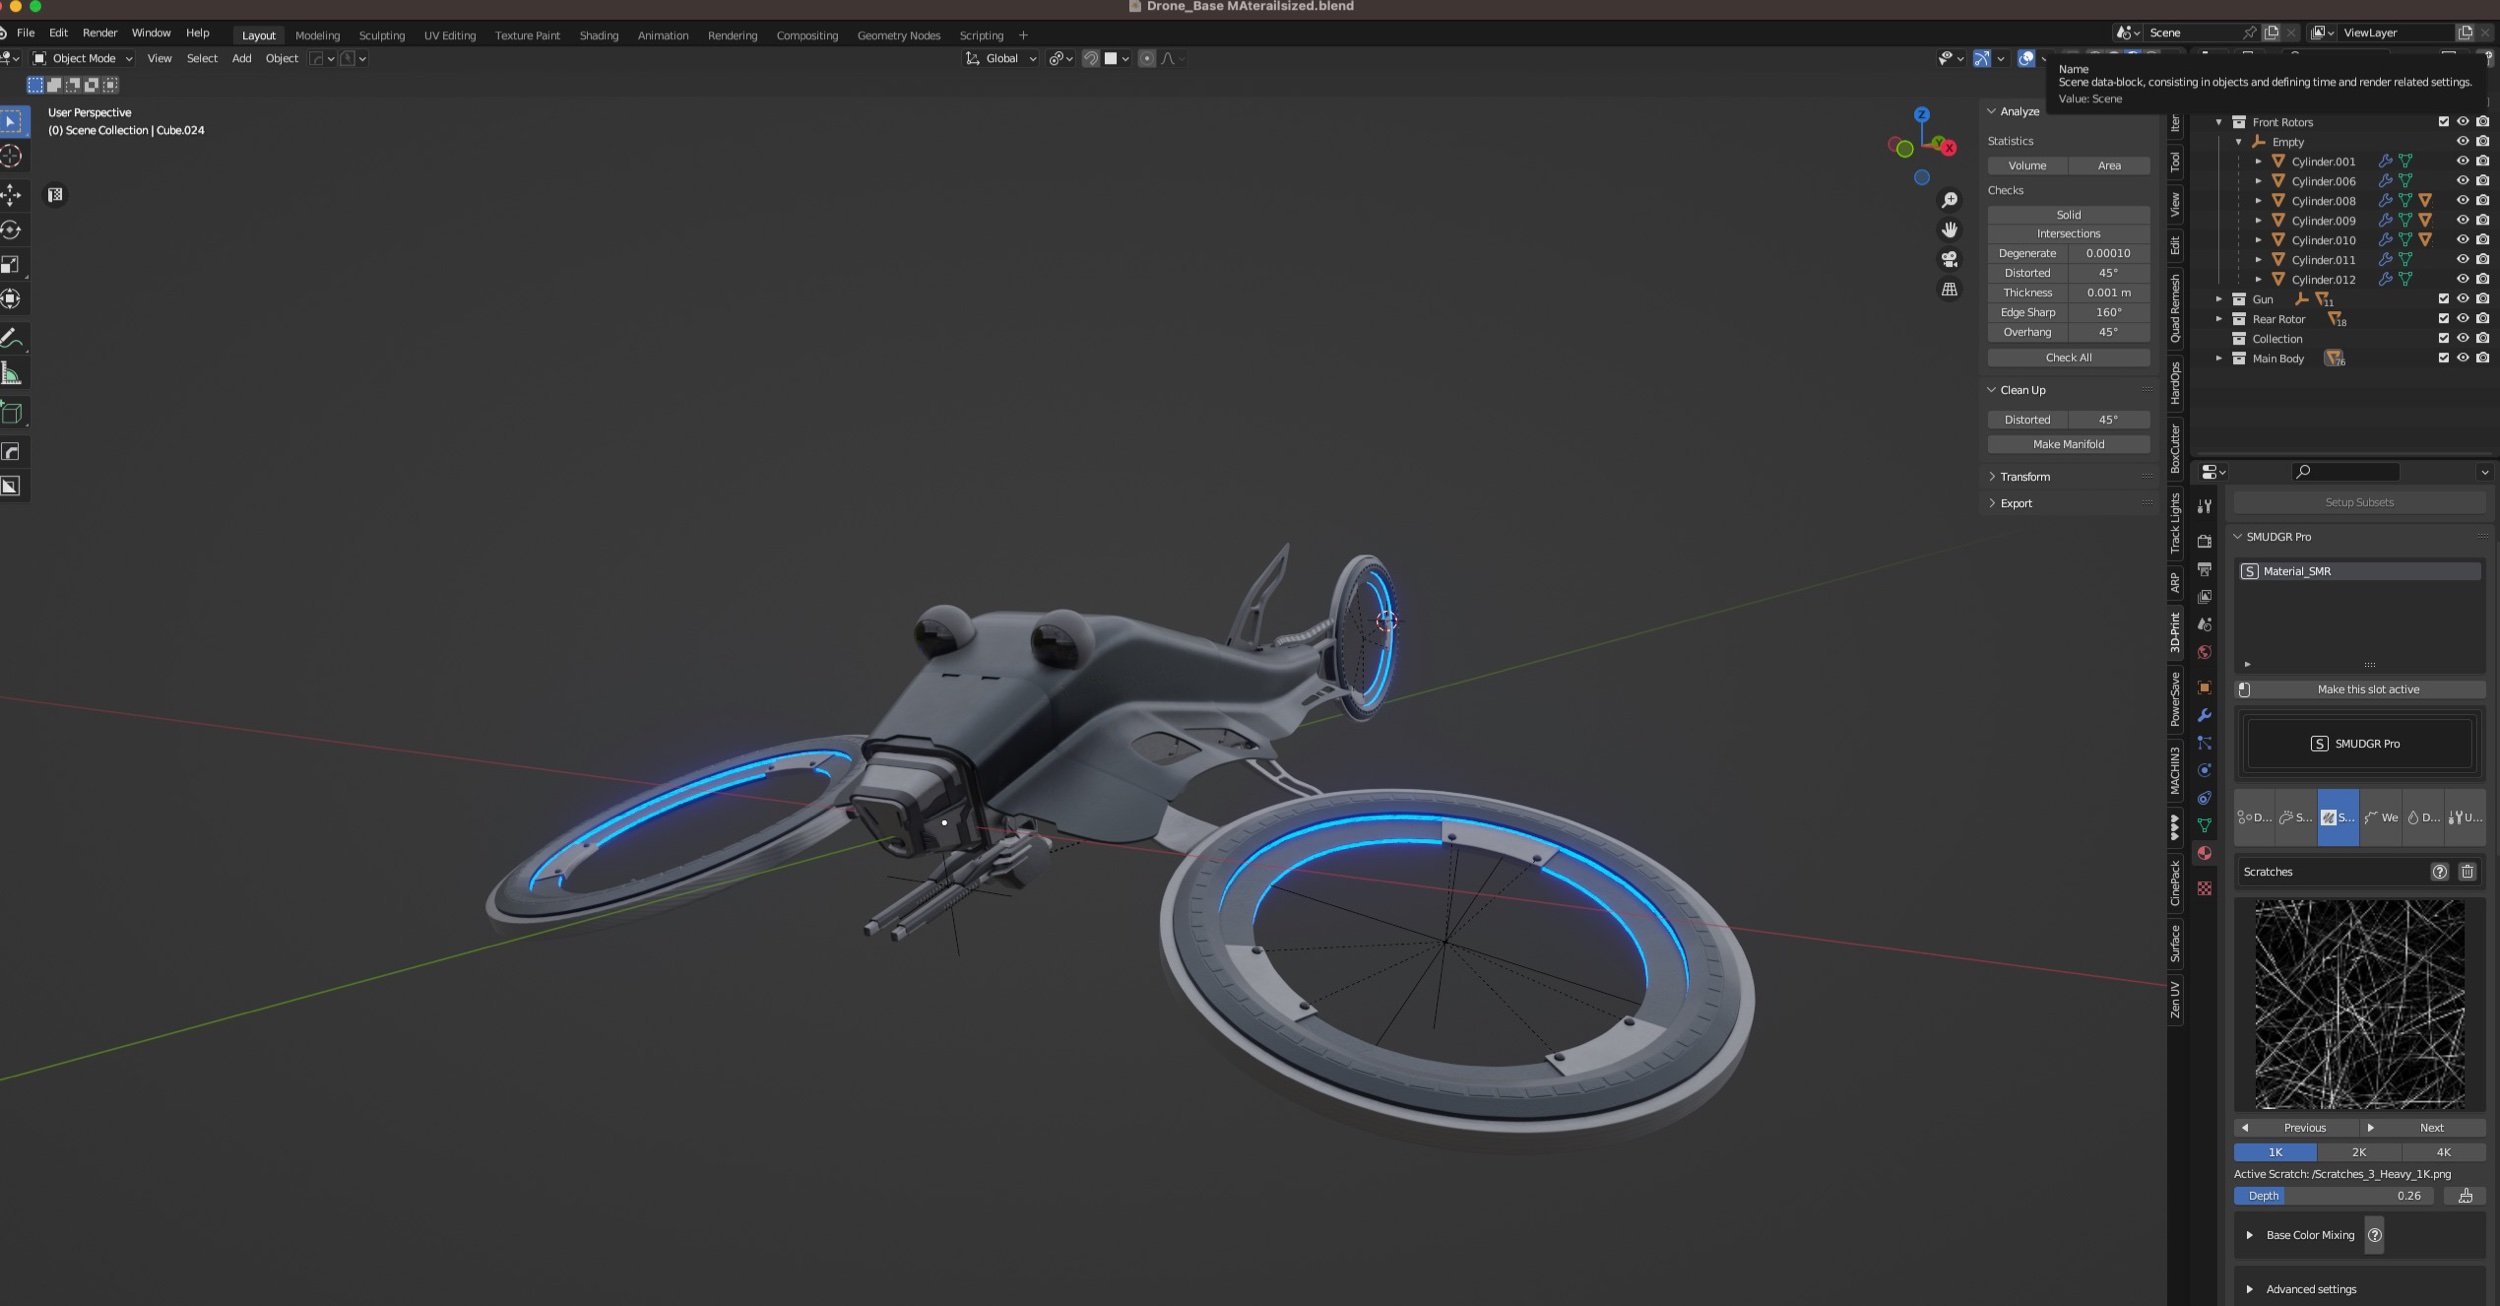
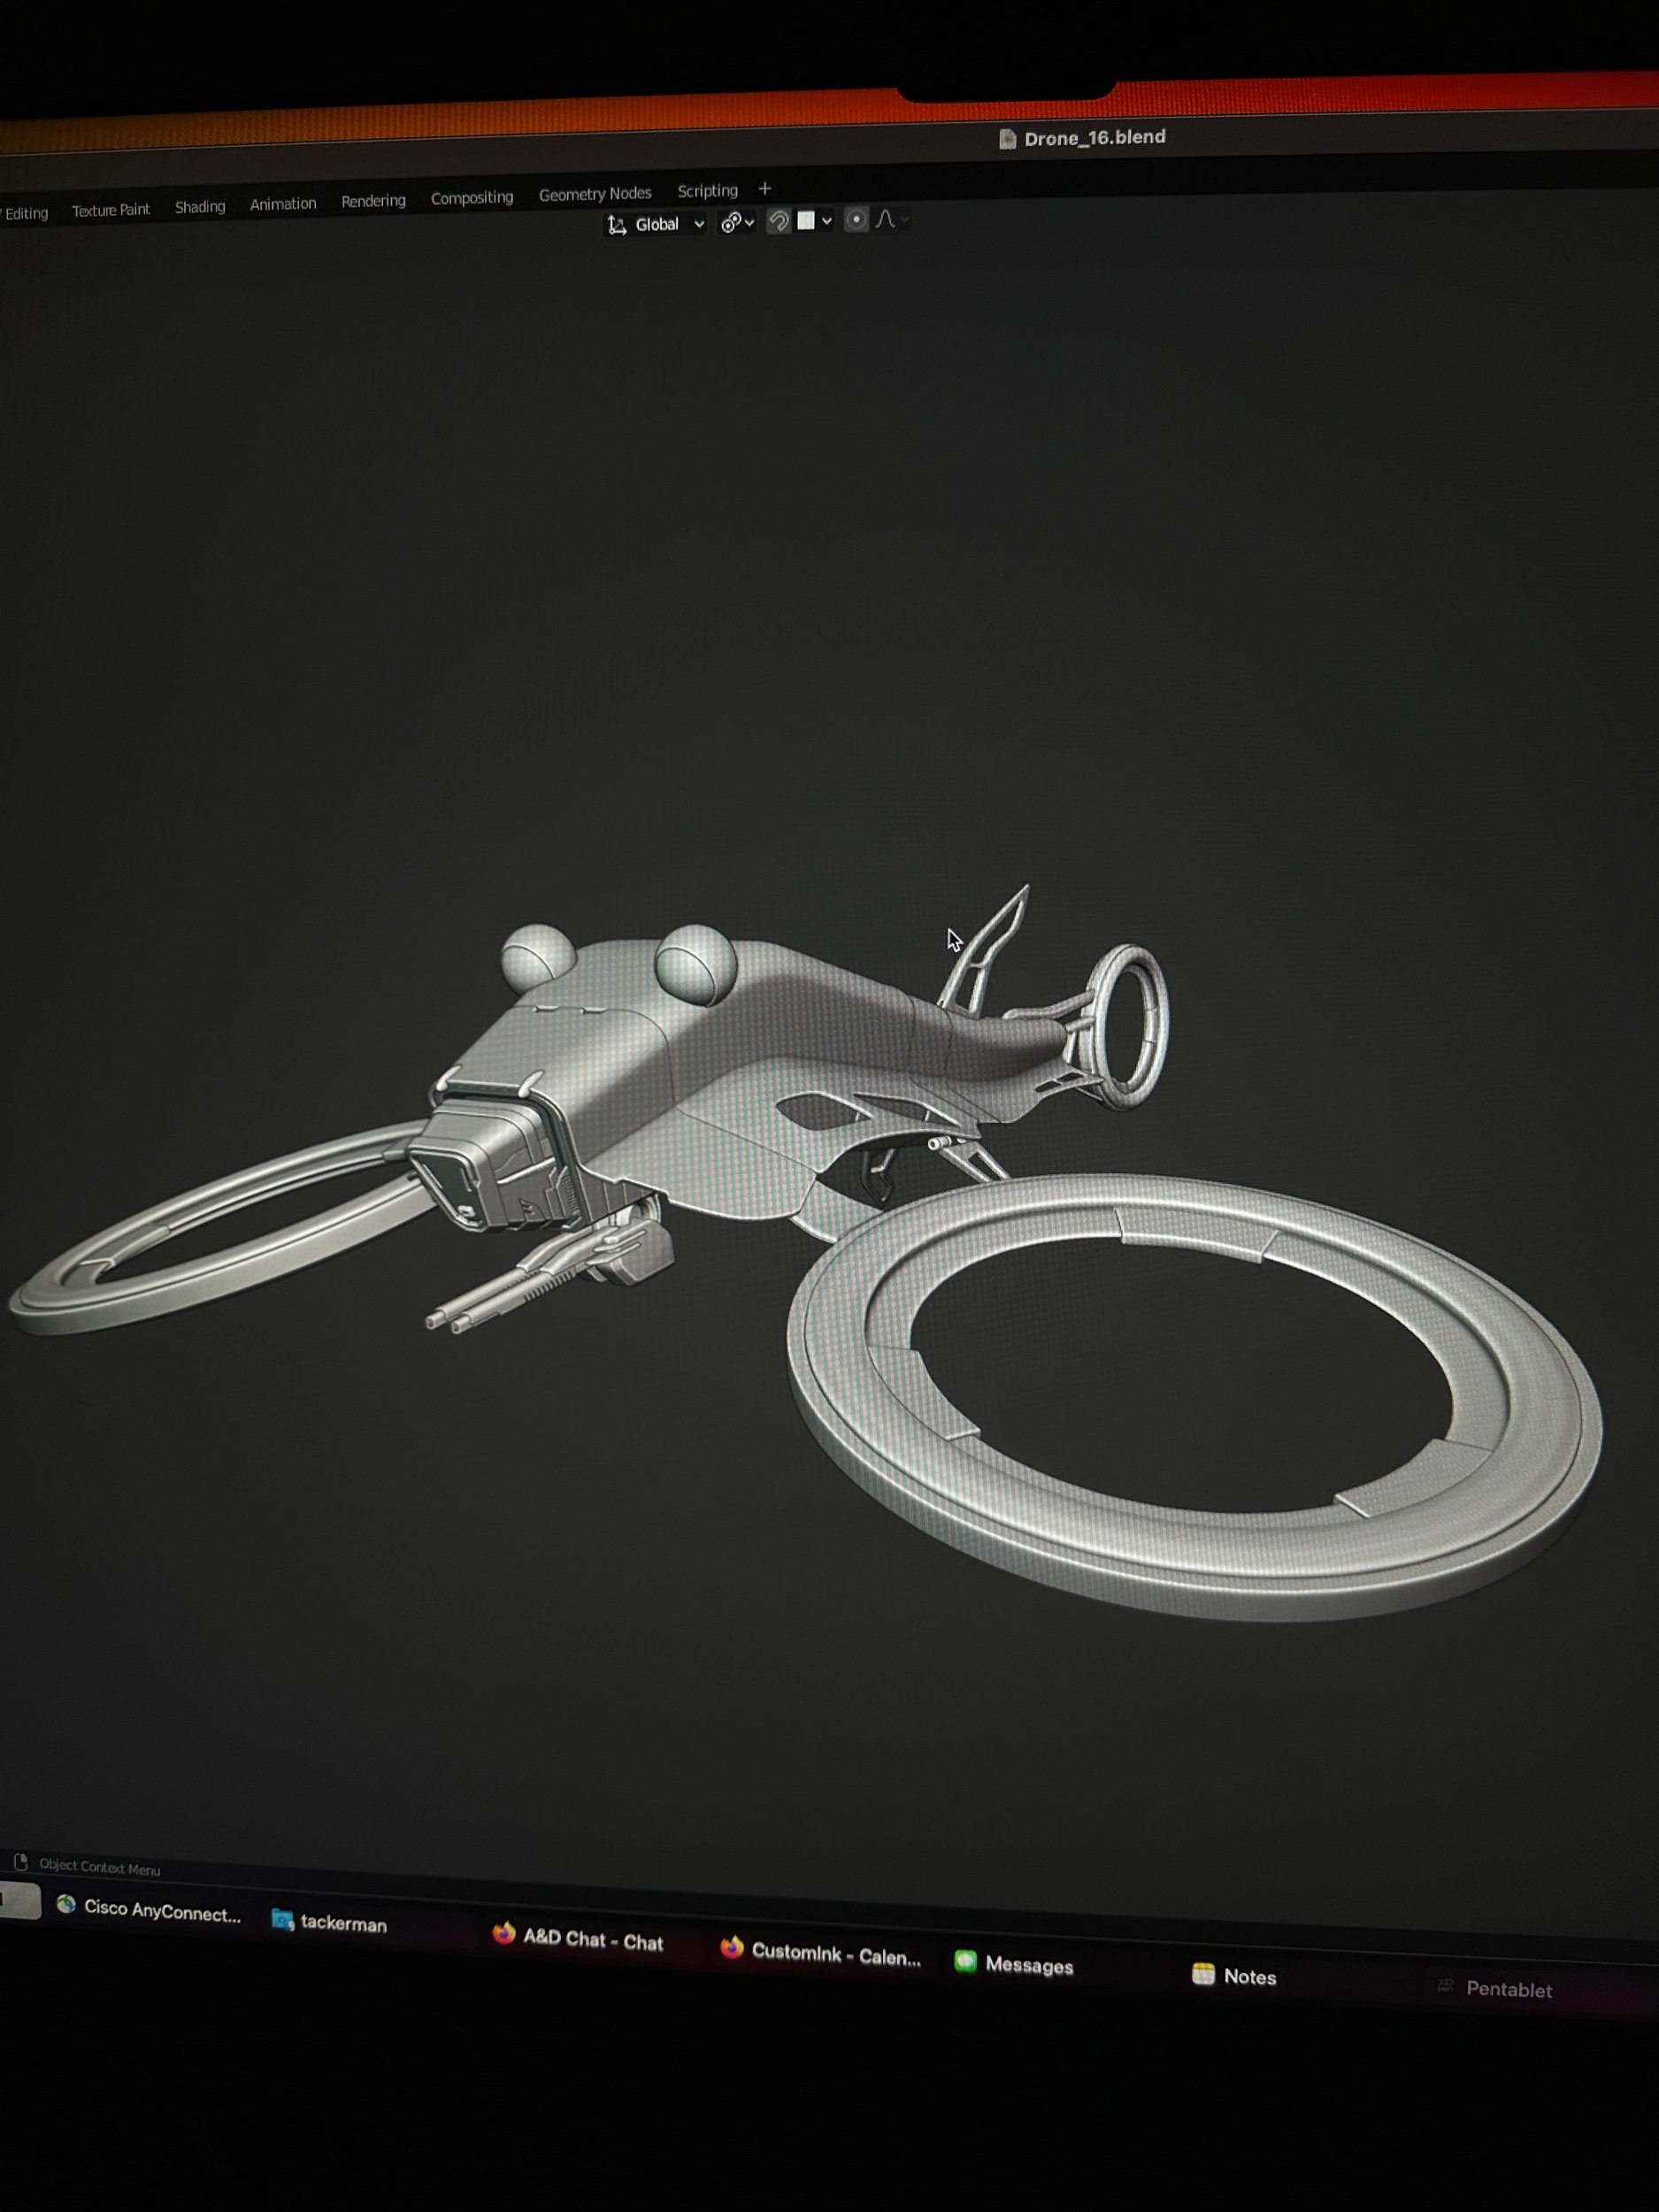
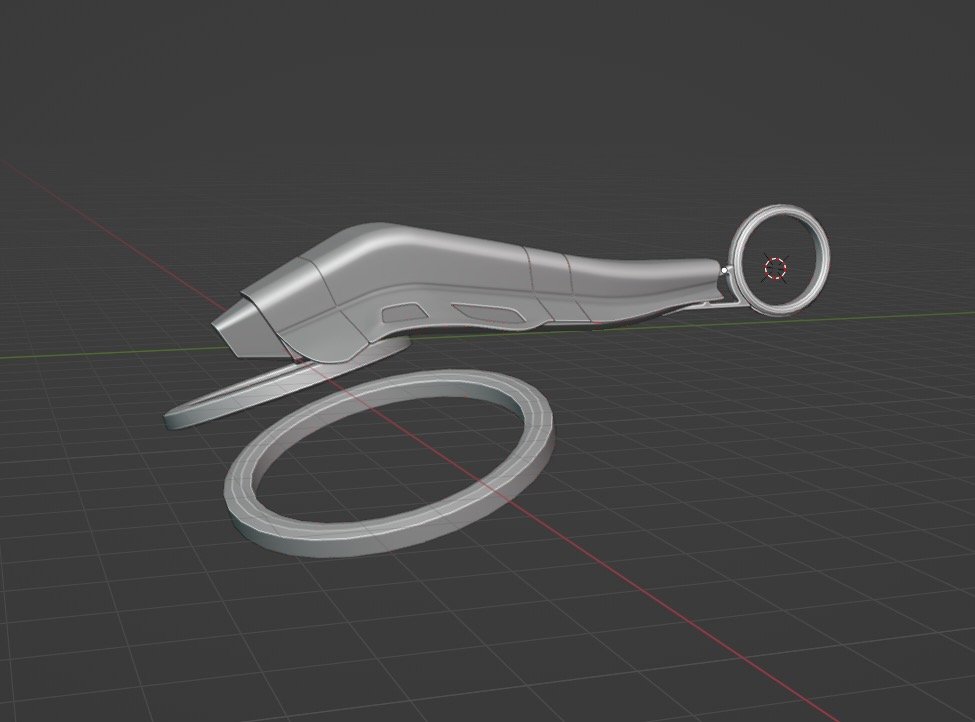
As I progressed through the courses, I gained confidence in my skills and was able to apply what I learned to create my own projects. I completed two projects, the robotic arm and the sci-fi space craft, which I am proud of. These projects allowed me to showcase my skills and put into practice what I learned from the courses.


I highly recommend BlenderBros3D's courses and materials to anyone interested in learning 3D animation and modeling using Blender3D. The courses are well-structured, informative, and engaging, and the teaching style caters to both beginners and advanced artists.

At the end of the day learning a new skill can be a challenging but rewarding experience. If you want to learn a new skill, such as 3D animation and modeling, put in the time and effort, and the results will pay off. BlenderBros3D is a great place to start your learning journey, and with their courses and materials, you'll be on your way to mastering 3D animation and modeling in no time.

Go check them out at https://www.blenderbros.com/

Josh and Ryuu are your guys when it comes to modeling.


5 Reasons Why Lume Cube's Portable Panel Lights are a Must-Have for Any Photographer's Toolkit

5 Reasons Why Lume Cube's Portable Panel Lights are a Must-Have for Any Photographer's Toolkit

Looking for a versatile and cost-effective lighting solution for your photography needs? Look no further than Lume Cubes portable panel lights. These lightweight and compact lights are perfect for on-location shoots or for photographers working with limited space. They produce a soft, diffused light that is easy on the eyes and perfect for capturing subtle details and textures. With the ability to program different colors and use different light diffusers, you can easily adjust the intensity and direction of the light to suit your creative vision. Whether you're a professional photographer or just starting out, Lumecubes are a must-have for your toolkit.


Read More

New Temporary Photos of the most recent projects

Took some quick pics of the stuff I had on hand. Still working on making a proper photo booth for the items but for now here is some of my latest work. Message me if you would like to buy any of the pieces.

Click each photo for a larger view


Myrtle Wood Trivet.

Made a stop to the exotic wood dealer in town and bought a couple pieces I could actually afford lol.  

Drew up this mosaic trivet and took it over to the cad/cam software to export out to the shapeoko3 xxl. With some mineral oil and sanding it came out looking sharp! Officially addicted to using exotic woods, to bad the average price is $30-150 a board foot.  Lol.


Got a new Cnc!

Bought myself a Carbide3d Shapeoko3 XXL for Black Friday. Finally got it in the mail and have been experimenting and learning it this past week. Here is a few things I’ve made with it so far. 


Building a New Desk (in Progress)

Out with the old, in with the new.

So i decided to build a custom new desk/work station in my office.
This project is still in progress so for now i will share a few pics. I will have a full write up after i finish it off.


IMG_9603.PNG

Found these raw cut pecky cedar pieces for sale in Sacramento, so I drove down to check them out and see if it would work. 


IMG_9611.JPG

After talking out a price they were mine. 


IMG_9636.JPG

After sorting through the pieces I decided these two would make up the main desk section. 


Next was to cut and trim the sections together. 

I decided to have them reflect each other the the holes. 


After some glue and light sanding I had a desk base. 


Next came the fun part of taping off and back filling the holes in preparation for the resin filling.


Next was the resin. I decided to fill using a black pigment. Didn’t want to go the common blue pigment.

i used hot glue to make the dams so the resin wouldn’t flow over the wood so much. 


Next came the not so fun part......  sanding.


But it started to come to life. Next stage was sanding and polishing it with higher grit papers. 


After that came the best part, putting on the odies oil wood treatment. 


MORE PICS COMING SOON

for now here is a couple pics of the bench and another coffee table I just finished too. 


New Name!

Welcome to High Sierra Visuals.

Just a quick update:

I decided to rebrand and start off fresh after being in a rut/funk for the last 4 months.
Check back for more exciting stuff to come.


HSV header.png